Machine and mechanical errors are related to each other. When you have an electrical appliance, it will show some problems from time to time.
And blender isn’t an exception. One of the usual problems with the blender is that its base gets stuck.
Now, if you are dealing with the same issue, don’t go somewhere else cause I have the solution.
Today I will let you know how to remove blender base by following some simple tricks. But before that, you need to know why your blender base is stuck. It will help you understand the problem deeply, and maybe you can think of a solution yourself!
Causes of Blender Being Stuck to Base
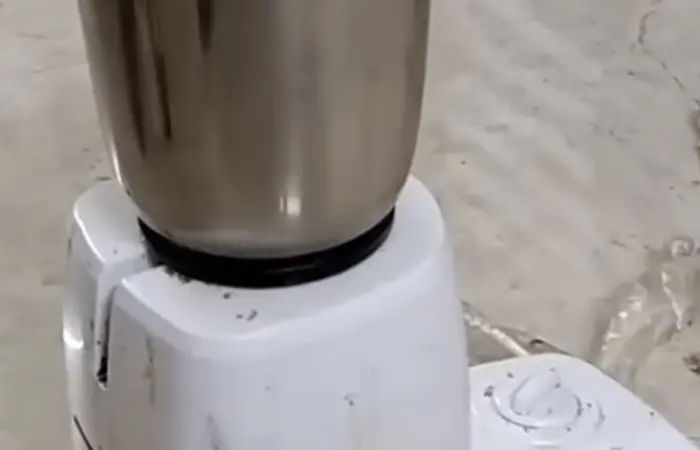
If the components of your blender are dirty and/or you assembled it when damp, then it can easily get stuck to its base. So, it’s necessary to keep it clean after every usage.
Even the motor will last longer if you put less strain on it.
Another problem with all blenders is cavitation. It happens when an air bubble gets stuck over the blender assembly. And this also leads to the base being jammed.
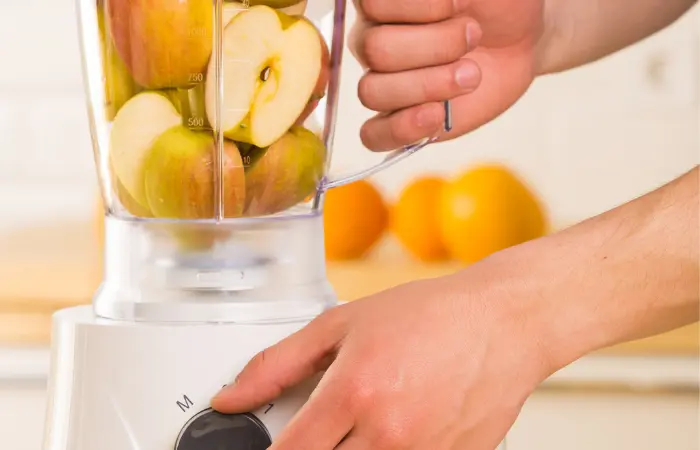
When you use the blender to prepare creamy meals like nut butter, whip cream or hummus or when you blend rounded items like apples, the blade may also become stuck.
Although most blender blades are built tough since they have to shed chunky things, you have to lubricate the blades regularly to ensure they spin smoothly. It will help to unjam any stuck blades.
Now, If you find that the blades aren’t moving after you made some drinks for a party or other occasion, the chances are high that the blade assembly is drenched with syrupy goo or sticky liquids.
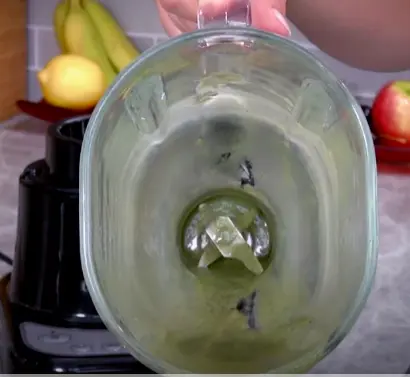
Therefore, this sticky situation can be another reason why you couldn’t remove the blender from the base.
Alright, as you learned the possible reasons, it’s finally time to know how to remove the stuck blender base.
How to Remove Blender Base When It’s Stuck? 7 Easy Methods to Fix It
Here I will give you six different solutions. So, if one doesn’t work, you may try another method.
For all these methods, one thing you need to do is to remove the blender’s plug from the socket. This is highly important to avoid any accident while fixing.
Okay, let’s start.
Method 1
Place your blender jar above the housing like you are actually gonna use it. Then hold the blender base with one of your hands and twist the jug anticlockwise with another hand.
Basically, the blender housing teeths holds the base, and when you twist, it comes out without much trouble.
And trust me, this is the simplest way to remove the blender base.
Method 2
Follow the steps below to remove the blender from the base.
Step 1: Flip the blender unit over
Turn the blender jar upside down. This step is important to remove your blender cup from the position where it is stuck.
Step 2: Gently tap the bottom
While the entire blender jar is upside down, lightly tap the bottom of the blender’s cup a few times on your kitchen counter. It will help take out any particle or debris that is restricting the base from removing.
Step 3: Twist the cup counterclockwise
Then gently twist the cup anticlockwise, and this should detach your blender from the base.
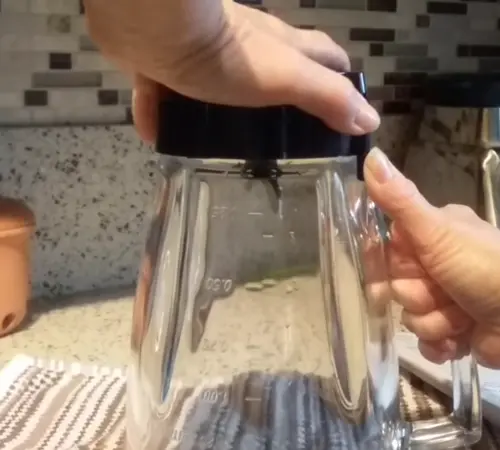
Now in case, a part of the blender’s cup gets jammed underneath the actuator, there’s a simple hack you might try.
Step 4: Use a flat screwdriver if one side of the blender is still attached
Take a small flat screwdriver, and use its tip to turn around the cup to ensure that the cup’s lip is positioned on the actuator.
After that, place the screwdriver next to the actuator, and then raise the lip away from the actuator to draw the cup up and away from the base.
Okay, let’s move on to the following method.
Method 3
Take some warm water and pour it into the pitcher. Now, wait for at least 10 minutes.
For this method, you should take warm water, not boiling hot, as it will damage the pot.
Then, shake the cup back and forth and try to lift it off. The stuck part should come loose with heat.
For me, this method worked a few times, and I hope it will work for you too.
Method 4
I already mentioned that dirt causes the blender to be attached to the base. And this method could be the ultimate solution to remove it.
So, first, you need to apply a small amount of cooking oil or coconut oil to the exterior of the glass and allow it to run down inside the threads of the base.
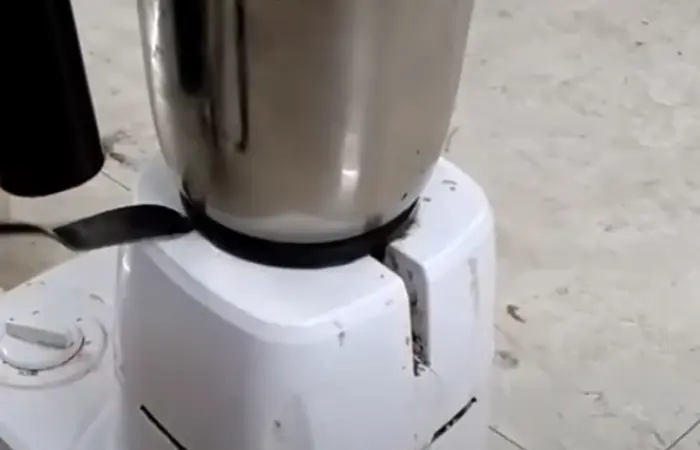
After that, drop a bit of diluted dishwasher liquid inside the blender jar and place it back on the power unit. Turn the blender on for a little period to stimulate the dishwashing liquid.
Then, leave it for a couple of hours, and you should be able to detach the jar from the bottom at this moment.
The concentrated starch on the dirty surface acts like glue when it dries. This makes the bottom attached.
The bond of the dirt loses when that portion is rehydrated, and that’s what exactly happens when you use the dishwasher.
So, after you try this method, you will be able to unscrew the base without having trouble.
Method 5
For this method, I am going to use a rubber strap wrench. In the market, you will find it in a set of two, one is large and one small.
Before using this tool, ensure all surfaces are dry and oil-free to avoid any mishap.
Remember that using a rubber strap wrench is the last option after no other method works and when you don’t mind risking the damage to your blender.
Start by inserting the base and jug into the dishwasher and running a full wash-dry cycle on both. After it dries, use the rubber strap and try to open it by twisting.
If you fail on the first try, soak the whole assembly in warm water and repeat soaking until the water cools off. When everything is dry, try the strap wrench one more.
Method 6
For this procedure, you need to be more technical.
First, unscrew the blade of the blender and take it out. You may use rags to carefully grab the blade, not cut yourself.
Next, turn the external rubber piece counterclockwise – the opposite of what you have to do to loosen it. And this should separate the base easily.
Now, check for any corrosion on the blades. If you find any, spray it down with some lubricant that has a cleaning ability and smoothens out corrosion.
Later, add a bit of grease, wash down the other parts of the blender and dry them off. Wait for few hours and then reassemble everything.
Method 7
Before getting into the details, note that you should not attempt this process if you don’t have prior experience with handling electronics like grinders or blenders.
You will need to tamper with electric wires throughout this process, so you should give your kitchen gadget to a professional if you are not qualified.
However, if you are good with electronics, then follow the steps below one by one.
Step 1: Take out the plug from the socket to avoid electrocution.
Step 2: Remove the four screws from the cover plate, the motor shield, and the base.
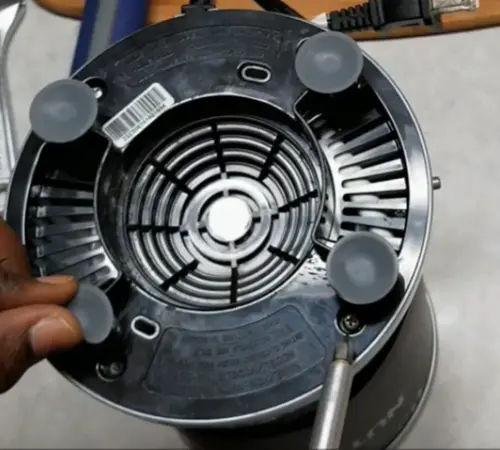
Step 3: From the binding clip, remove the white motor.
Step 4: A plastic sleeve with a fusible link should be present. Find that.
Step 5: Check for continuity between the spots on both sides by detaching the sleeve. For this, an ohmmeter is required.
Step 6: If you find no continuity, then clip out the fusible link and solder the white wire together again.
Strep 7: Tape a strip over the area.
Step 8: Reconnect to additional wires.
Step 9: Lastly, change the bottom and check.
So, when you disassemble the parts, you can easily separate the base, check for any problems and reassemble everything.
By the way, this method involves working with screws, so if you find it difficult to unscrew, I have a segment dedicated to this matter.
Check below.
How to Unscrew A Screw If It’s Stuck & Stubborn?
Although there are several ways to unscrew, I will let you know the ones that worked for me.
1. Use A Different Screwdriver
Screws vary in design and size. Hence if it’s stuck, try to remove it by using a different screwdriver.
First, use a smaller or shorter one that has a bigger head. Apply downward pressure and slowly remove the screw. However, if this one doesn’t work, then check if the screw is a star screw or a philip head screw. If so, use a flathead screwdriver.
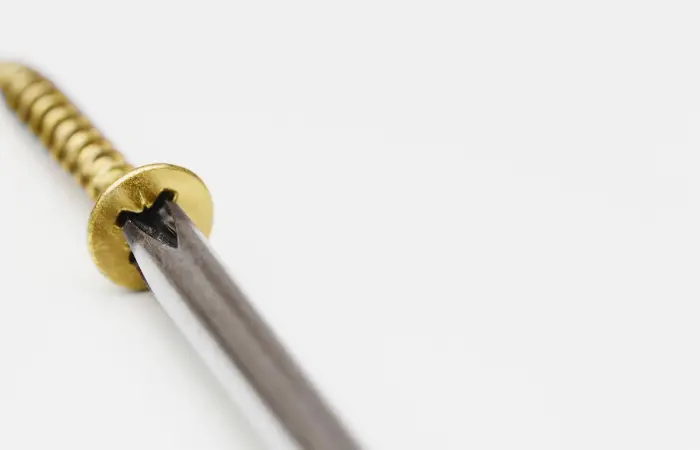
Remember that a flathead screwdriver should be tight enough to fit through the entire opening when being used. Also, turning the screw out requires a fair amount of downward pressure.
2. Drive the screwdriver in with a hammer and tighten it to the screw or nut
Well, one thing I learned from my own experience is that sometimes you should be harsher towards screws!
So, bring out your hammer!
Yes, just hit the screwdriver into the head of the screw using a hammer and tap the base. As a result, you will have a better grasp on the screw as you hold up your screwdriver into the head.
Note that this method is more effective with soft and delicate metal screws, not hard ones.
Then release the hammer, and try taking out the screw.
3. Try Using A Set of Pliers
A pair of pliers can be effective in removing a stubborn screw. First, look out if there is a slight gap between the surface and the top of the screw. If so, try swiveling the screw out using a plier’s grasps.
Make sure to first secure the screw inside the mouth of the plier so that it won’t slip away. Then, turn the plier circularly and attempt to turn the screw out.
Let the pulling force moderate as you pull. Check to see if you’re progressing. And when you realize that it is moving along with the pliers, repeat the process until it is completely freed.
4. The Rubber Band Technique
This strategy works excellently with the screw heads that are worn out and have lost their shape on the edges where the screwdriver sits on.
Put the flat side of elastic rubber over the screw head and firmly drive the screwdriver tip over it. Then, turn the driver to pull out the screw.
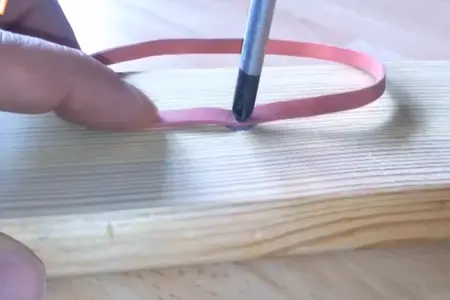
The elastic will create a firm grip on the screw’s head and help the screwdriver enter the head’s slot.
5. Use A Steel Wool
When an elastic band is unavailable, you can use this steel wool in its place. Similar to how you would place the rubber band, place the steel wool on top of the head.
Firmly insert your screwdriver into the gap. Gradually pivot the screwdriver while attempting to extract the screw.
6. Utilizing A Dremel Tool
For a completely worn-out screw head, this technique is effective in most cases. You need to use a dremel type equipment to create an adequately wide space in the head to fit in a flathead screwdriver.
By doing this, you can make a new opening in the screw. And now, all you have to do is use a screwdriver to remove the screw from the blender base.
7. Use Screw Extractors
Make a 1/8-inch opening at the focal point of the head with an electric drill to serve as a pilot hole. Create the slot larger and enlarge the drill by 1/16 inch.
Increase the bore’s size by 1/16 each time, then increase the opening until it is the same width as the screw extractor. Keep the drill centered on the screw’s head.
Be careful to go as deep as your screw extractor will allow, neither above nor below the required rating.
8. Apply Lubricant
Start by applying rust spray on the screw head and let it sit for around 10 to 15 minutes. After that, gently hit the screw with a hammer multiple times.
Then use your screwdriver to remove the stuck screw.
Note that this method is more effective with a rusted screw.
Well, I am done explaining all the techniques that you can apply to unscrew a stubborn screw.
Again I want to remind you that some of these methods can ruin the screw in order to take it out. So, only do these if there is no way of getting the screw out.
But, of course, you have the option to replace the screw with a new one.
Alright, it’s time to learn another important thing. Sometimes mold grows inside the blender with removable base that results in the base being stuck.
That’s why you should know how to remove the mold from time to time if there is some. And my next point will guide you in this regard.
How to Remove Mold from Blender Base?
Keeping your blender base mold or dirt-free can help you a lot to avoid a stuck situation.
Over time, the blender jar may pick up dark colors or crusty bits of food, which should be removed before it stains permanently.
So, here are fewer tips you may follow, whether the mold is inside the blender jar or between the base and jug.
- Mix the juice of 1 lemon, 2 to 3 tablespoons of baking soda, and some water. Blend this mixture at high speed for about 30 seconds. Remove the jar and scrub with a non-scratch sponge inside and under the base. Then rinse well and dry.
- Using vinegar, baking soda, and water will also work. Run to full speed and scrub with the sponge.
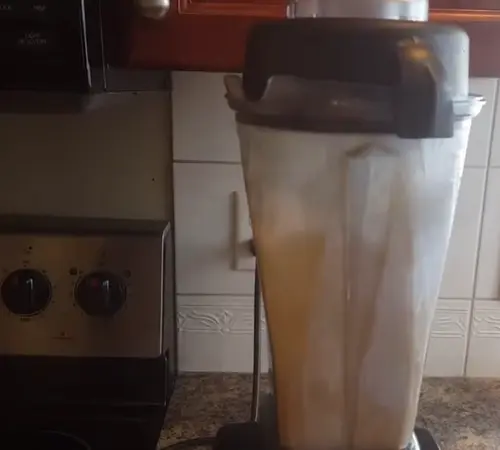
- Fill your blender jug with hot water and a few tablespoons of dish detergent powder. Let this sit for a few hours. Then dump the majority of the contents. The remaining substance should be stirred with a soft sponge around the base, then thoroughly rinsed and dried.
Always make sure to care for and maintain your blender. And it will help to keep the machine sustainable.
Okay, finally, we are at the edge of today’s writing. So, let’s wrap it up here.
Final Verdict
By now, you have learned how to remove blender base, take out the stubborn screw, and clean it.
Hopefully, my writing was a great help to you.
Frequently Asked Questions
How to open a stuck lid of a blender?
Soak the blender cup in warm water (not boiling hot). Then, wait for a few minutes. By this time, the air will expand, making it possible to remove the lid from the jar.
Why is my blender button stuck?
One main reason the blender button gets stuck is the trapped big air bubbles. Also, if you push the button with excessive pressure, it may get stuck as well.

