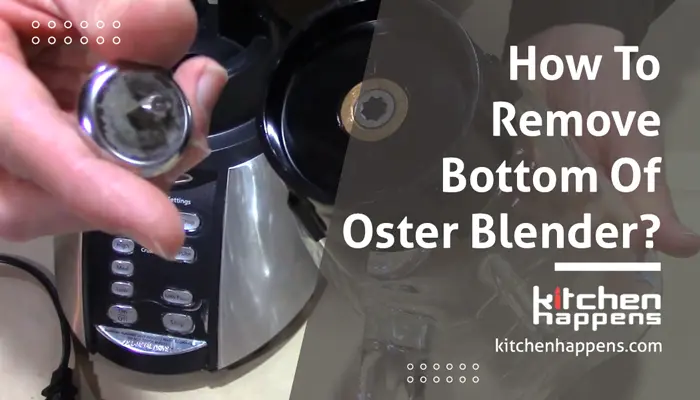
When it comes to talking about top-rated blenders in the world, the oster blender is definitely one of them. They are excellent for various reasons, including their unmatched performance, durability, and versatility.
But, even the best ones tend to have a few issues after usage for a certain time. And an oster blender isn’t an exception.
One of the primary problems that people face with these blenders is the bottom part. So, if you are in search of learning how to remove bottom of oster blender, then you are on the right page.
But first, let me tell you when is the right time to remove it from the jar.
When Do You Need to Remove the Bottom of Osterizer Blender Jar?
You may decide to change the bottom part for many reasons. Among them, the most common ones are if the base is worn out or leaks due to cracks or other issues.
1. If it’s Worn Out
After years of use, the base of your blender may wear out at some point. Then you should remove it and replace it with a new one.
For any oster blender, the best part is that you can buy the base from different online retailers. So, there is no need to buy the whole blender if only the base is having issues.
Make sure you buy authentic replacement parts, preferably from reputed dealers.
2. If It’s Leaking from Bottom
Now there are many reasons behind the blender’s bottom leaking. For example, the O-ring or gasket can be damaged, or the jar itself. Also, if the blade assembly isn’t set up perfectly, it might leak too.
However, the most seen reason is the base being cracked due to years of use. Also, overtightening the bottom of the jar can lead to cracking sooner.
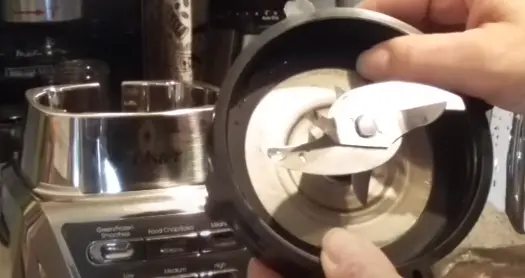
At that time, you have to change the bottom immediately.
By the way, just like there are several reasons for the bottom leaking, there are also various ways to fix it. Let’s dig into the next part to learn.
How to Fix An Oster Blender Which Is Leaking from Bottom?
Here are some proven ways to say goodbye to your leaking oster blender bottom.
1. Fix/ Replace Gasket
If the problem is in the gasket, you can fix it or simply replace it. But first, you have to remove it for inspection.
To remove the gasket, separate the glass jar with the plastic component and set it aside. Then, turn the glass jar over so that the top is on the back, and you will see a black, round ring attached to the bottom.
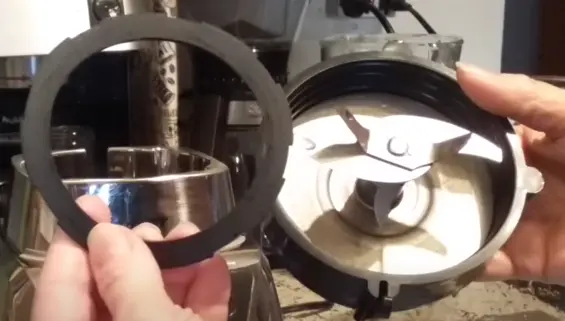
The gasket, which is also known as the ring, should come off with a couple of nudges. But if it’s stuck to the base, then you may use a butter knife or any unsharp tool like a screwdriver to remove it.
Once the gasket has been removed, thoroughly check it for food leftovers and damage.
The Oster blender may leak from the bottom if food becomes lodged in the gasket’s rim.
Now grab a sponge with soapy water and clean the gasket if any waste or food is attached. Then rinse with water under the sink.
After cleaning the gasket, look for any signs of damage to the rubber. You may reinstall the gasket into the appliance if it has a few little nicks.
However, replacement is the best option if the gasket has visible signs of wear and strain.
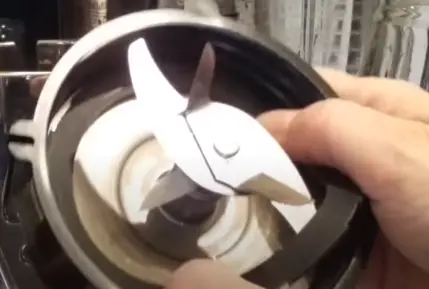
Anyway, whether you will reinstall a new or the same old gasket, make sure to put a little bit of dish soap on the black ring. It will help screw it in tight without binding.
After installing the gasket, wash the blender’s bottom under the sink to remove the dish soap, then lay it aside to dry.
2. Clean Or Replace the Blade Assembly
Oster blade assemblies are made up of several pieces, such as bearings, but because they cannot be disassembled, you will need to replace the complete unit if it is broken.
Turn the blender jar over and place it on a level surface, just as you would when replacing or repairing the gasket. Next, detach the blade assembly, unscrew the bottom of the container, and remove the gasket.
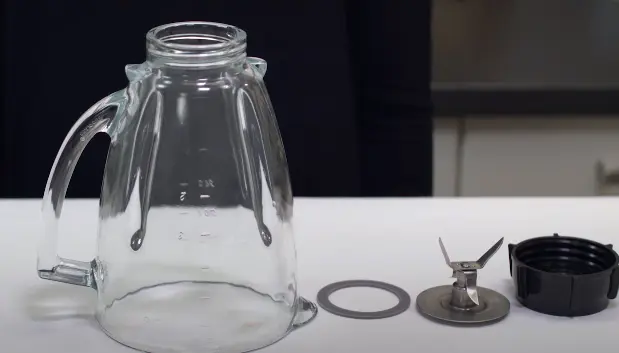
Check the blade assembly for debris, remove it using an unsharp tool, and carefully wash it before restoring it.
Now screw the blade assembly back into the jar, put it on the base, and screw it on tight. Then turn on the blender to check whether it’s still leaking from the bottom. If there are no leaks, not even a single drop, then your blender is all good to go.
However, if you find small leaks, you must replace the blade.
To avoid further damage to your appliance or improper operation, be careful to replace the damaged blade component with a genuine item.
First, unplug the blender from the power source to replace the blade. Then, flip it over, and follow the previously mentioned process of screwing it back.
3. Replace The Bottom Part
Last but not least, if the bottom part of your oster blender is damaged, you have to replace it cause there is no way you can fix it.
As I mentioned before, look for the replacement bottom of oster blender jar from trusted retailers and change it.
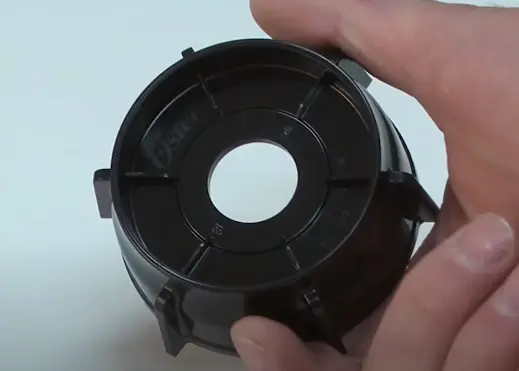
And to replace it, you have to remove the damaged one first. So, I am going to tell you how to do it.
How to Remove Bottom of Oster Blender?
Follow the below steps to dismantle the base of the oster blender.
Step 1
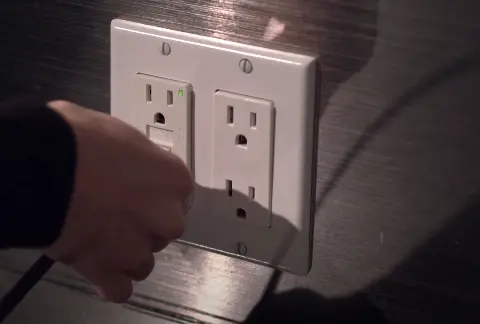
Power off the blender and ensure the cord is disconnected from the electrical outlet. Then remove the blender container from the base by twisting it and lifting it.
Step 2
Next, remove the lid from the container and flip it, so the bottom faces you.
Step 3
Now grab the bottom cap and twist it in the counterclockwise direction until it comes off from the container. After removing it, you will see the blades.
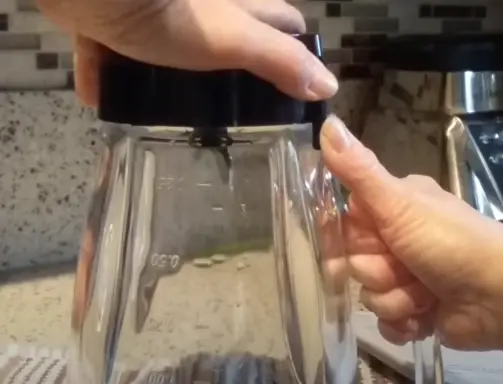
If you want to sharpen your blade ((link how to sharpen blender blade)) or replace it, you can easily take it out once the base is removed. Also, you can change the rubber gasket too if it’s damaged.
Important Note
Sometimes the bottom of the blender doesn’t come out easily as it should. In such a case, it might be stuck, and you need to apply another method to detach it.
Therefore, if you face a similar problem, you may check our complete guide on how to remove the bottom of a blender if it’s stuck and doesn’t unscrew. Just check the writing out, and you will be able to solve your problem instantly.
Alright, it’s time to move forward to the next segment, where I discussed how to install a new base to your oster blender.
Learn How You Can Install The New Bottom of Oster Blender Container
Once you have purchased a new bottom for your Oster blender, follow the below instruction to install it.
Step 1
Place the blender blade (also known as agitator) with the seal ring onto the new container’s bottom.
Note that, in some models of oster blender the seal sits on top of the agitator, and in another it sits in between the agitator and container bottom.
Step 2
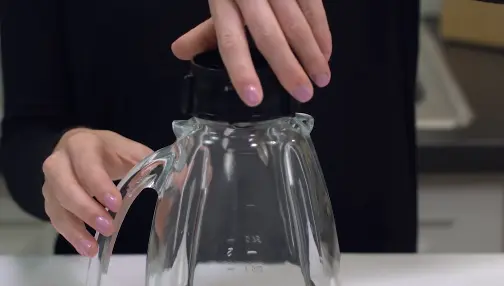
Screw the new bottom onto the jar. You need to line up on the threads, so it doesn’t cross the threads. Most importantly, don’t over-tight it as it may crack the base.
Step 3
Finally, install the jar onto your oster blender base. And don’t forget to check whether it is functioning perfectly by running it.
Alright, as I am at the end of the writing, it’s time to wrap up.
Final Verdict
After going through the entire write-up, I hope you got a complete guideline on how to remove bottom of oster blender and how to install a new one.
I also discussed what you should do if it’s leaking. Hopefully, my writing will help you remove the base easily and replace it with another.
Frequently Asked Questions
How to clean the oster blender base?
Combine warm water and 1 to 2 drops of liquid dishwashing detergent. Run this mixture in your oster blender at the lowest speed for 10 to 15 seconds.
After that, empty the jar of soapy water into the sink and rinse it with clean water. Lastly, clean the blender’s base with a damp, soft sponge and a light detergent.

