Saying no to ice cream can never happen! It’s a dessert that brings happiness both to your mind and your tongue.
With its sweet and yummy taste, it’s one of the desserts that not only kids but also adults love.
Now, imagine a hot summer day when you are craving to have ice cream. But, you don’t have one at your home.
In such a case, you can quickly make it right in your kitchen. All you will need is some basic ingredients and a blender.
Yes, today I will let you know how to make ice cream in a blender. So, be prepared to make your own homemade version of this chilling yummy dessert with me.
How to Make Ice Cream in a Blender: Basic Guideline
There are various ways of making ice cream at home using a blender.
You can opt for a traditional one by making a base with whole milk, condensed milk, or heavy cream for a rich flavor. Or, you may go for dairy-free options that are made by utilizing almond milk, oat milk, or coconut milk to get a lactose free creamy consistency.
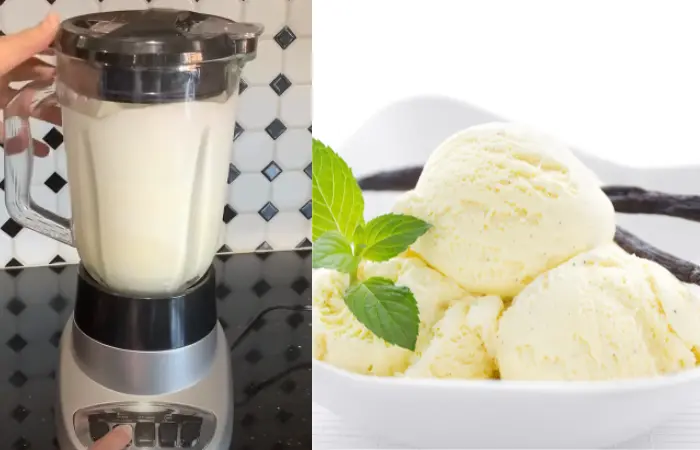
Whether you’re a fan of chocolate, vanilla, or tropical fruits, you can quickly and effortlessly whip up your masterpiece with a blender.
Now, let’s know which tools are needed to make homemade ice cream.
Tools Needed
Here is a list of the necessary tools you will need.
- Ice cream scoop
- Spatula
- Spoon
- Glass or metal loaf dish
- Plastic wrap
- And, of course, a blender
Basic Recipe Ingredients
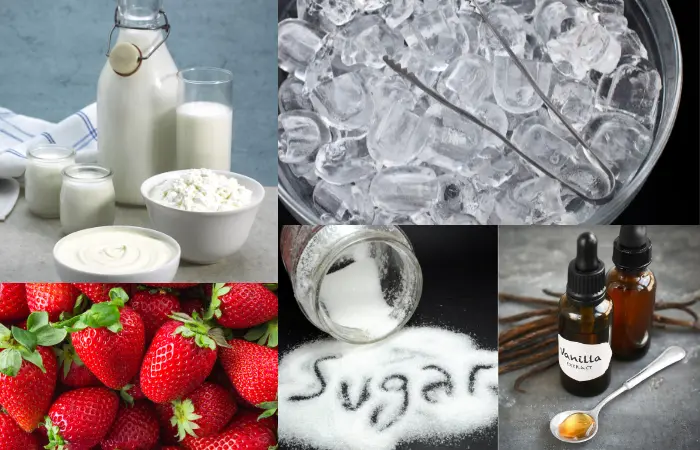
According to the flavor, the ingredients will vary. Yet, you will need the below essential ingredients.
- Liquid base (milk, heavy cream, or full-fat coconut milk)
- Ice cubes
- Star flavor (chocolate, strawberry, banana, peanut butter, or whatever you prefer)
- Sweetener of your choice (sugar, honey, maple syrup, or stevia)
- Vanilla extract
- Toppings (It’s optional)
Basic Steps to Follow
Follow these below steps one by one to prepare the ice cream.
Step 1: Gather Necessary Ingredients
First of all, gather all the ingredients on your kitchen counter.
Step 2: Add Them to The Blender
First, add the liquid base of your preference, like milk or heavy cream, inside the blender. Then add the star flavor of your choice, a few drops of vanilla extract, and sweetener.
If you like richer consistency in your ice cream, you should choose heavy cream instead of a milk base.
Step 3: Blend Them
Blend the mixture on high until it’s creamy and smooth.
Step 4: Freeze The Mixture
Fill a freezer-safe container, such as a glass loaf pan, with the mixture, wrap it in plastic wrap, and freeze it for four to six hours.
Step 5: Add Toppings (Optional)
If you want your toppings mixed with the ice cream, then you have to mix them and freeze the ice cream for another 1/20 hours.
But, if you want to have it over your ice cream, then scoop in a bowl, put the toppings over it, and enjoy.
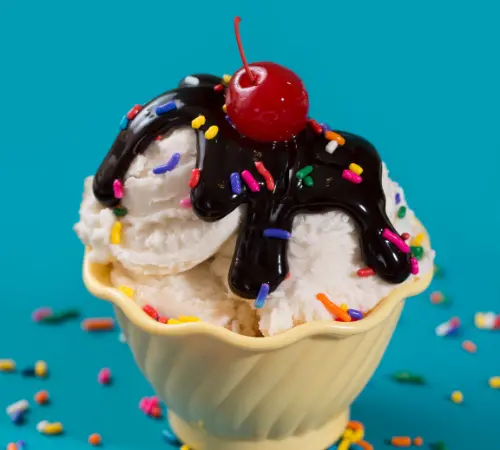
Until now, you have learned how to make ice cream at home in a blender. However, if you want guidance on a specific flavor, my next segment is for you.
Recipe for Making Different Flavored Ice Cream in A Blender
Now, I am going to share recipes for different flavored ice creams like strawberry, coffee, pineapple, and more.
How to Make Strawberry Ice Cream in a Blender
Ingredients
- 1 cup heavy cream
- ½ cup sugar
- 250 gm/ 1 package of frozen sliced strawberries
Directions
Step 1: Chop the frozen strawberries and then add them to the blender.
Step 2: In a bowl, whisk the heavy cream and sugar into the cream. Now, start the blender with the strawberries inside, and slowly pour the heavy cream through the opening lid. Stop the blender to stir the mixture from time to time (3/4 times).
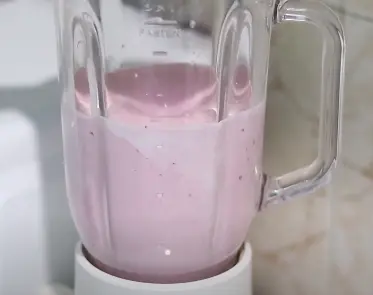
Step 3: Blend the mixture until smooth. At this time, the cream will thicken slightly.
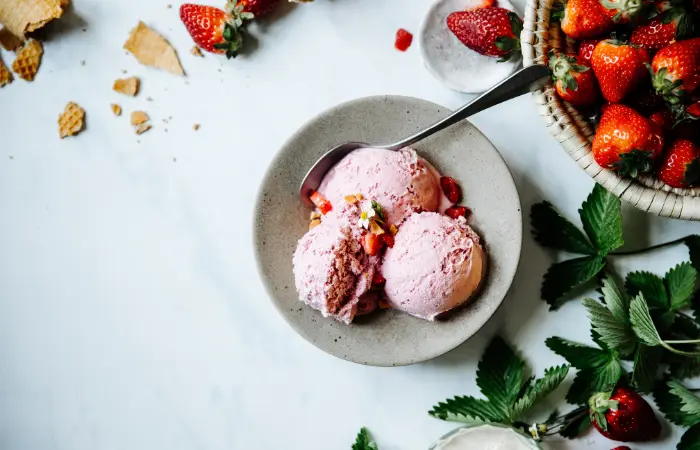
Step 4: Transfer the mixture into a mold and freeze for about 2 to 3 hours.
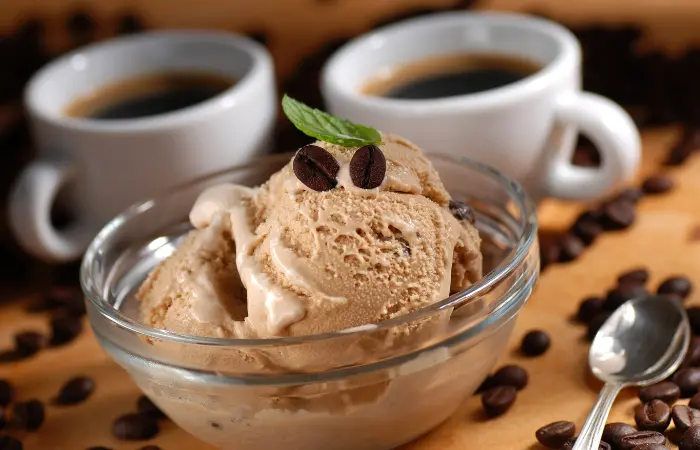
How to Make Coffee Ice Cream in A Blender
Ingredients
- 600 ml of heavy whipping cream
- 200 g of sweetened condensed milk
- 2-3 tablespoons of instant coffee powder
- 2 tablespoons of water
Directions
Step 1: Put the coffee powder in a mug and add water to dissolve it. Give the mixture a quick stir to make sure everything is dissolved.
Step 2: Next, take the sweetened condensed milk in a jar or bowl and add the coffee mixture to it. Then, stir the mixture together until combined.
Step 3: Now, pour the whipping cream into the blender. Add the coffee mixture to it and blend it until you get a thick creamy consistency.
Step 4: Transfer this mixture into a freezer-safe container and place it in the freezer for about 3 to 4 hours or until it’s set.
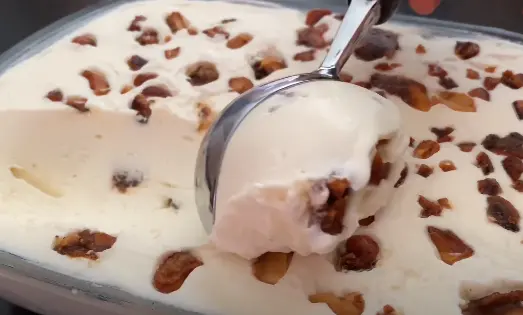
How to Make Vanilla Ice Cream in A Blender
Ingredients
- 2 cups of heavy whipping cream or fresh cream
- 2 cups of half & half cream
- ¾ cup of sugar
- 1 tablespoon of vanilla extract
Directions
Step 1: Pour all the ingredients into your blender and blend it at medium speed for 2 minutes or until you get the desired consistency.
Don’t over-blend the mixture, as it will give a whipped cream-like consistency. As a result, small ice crystals may form while it freezes.
Step 2: Pour this mixture into a freezer-safe container and freeze for around 3 to 4 hours or overnight. Make sure not to open the lid until the ice cream is frozen completely.
Extra Tip: For extra vanilla flavor, remove the seeds from a vanilla bean pod and add them to the blender.
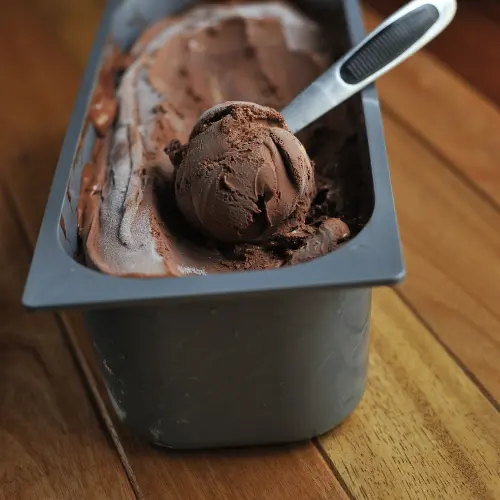
How to Make Chocolate Ice Cream in A Blender
Ingredients
- ½ cup of whole milk
- ½ cup of nonfat dry milk powder (optional)
- ½ cup of heavy cream
- 2/3 cup of granulated sugar
- ½ cup of unsweetened cocoa powder
- 1 teaspoon of vanilla extract
- 2 cups of ice
Directions
Step 1: Place the heavy cream, whole milk, and milk powder into your blender.
The nonfat milk powder helps solidify the mixture fast. So, very little freezing will be required, or even none if you love soft, melty ice cream.
Step 2: Add the cocoa powder, sugar, vanilla extract, and ice. Blend the whole mixture at a low speed to crush the ice. If you are unsure whether there are still ice chunks, you may stop the blender and check using a spoon.
And if you see chunks, blend for another 15 – 30 seconds before checking again.
Step 3: Then, change the blender speed to high and blend until you get a thick creamy consistency. You may check the consistency and flavor by quickly tasting it.
If it’s too thin, add ½ to 1 tablespoon of nonfat dry milk; if it’s too thick, add liquid ingredients (whole milk or heavy cream). Then, blend again at high speed.
Step 4: Transfer the mixture into a freezer-safe container, freeze for 1 hour, and then enjoy.
How to Make Peanut Butter Ice Cream in A Blender
Ingredients
- ½ cup whipping cream
- ½ teaspoon vanilla extract
- 3 tablespoons condensed milk
- 2 tablespoons peanut butter
- 2 tablespoons of liquid milk
- Chopped peanut for garnishing
Directions
Step 1: In a blender, pour the whipping cream and add vanilla extract to it. Blend this mixture for a few seconds. Then, add condensed milk, peanut butter, and liquid milk to it and blend at high speed for 1 minute.
Step 2: Pour this mixture into your ice cream mold and sprinkle some crushed peanuts over it. Cover it with the lid or plastic wrapper and freeze for 3 to 4 hours or overnight.
Leftover ice cream can be preserved in the freezer in an airtight container for up to 3 months.
How to Make Coconut Ice Cream in A Blender
Ingredients
- ½ cup chopped coconut
- ½ cup coconut water
- 1 cup heavy cream
- ½ cup condensed milk
Directions
Step 1: Take chopped coconut in a blender and add coconut water to it. Then, blend at high speed to make a smooth paste and set aside.
Step 2: Pour the heavy cream in a bowl and beat it with an electric mixer. In case you don’t have a mixer, then you can also make whipped cream in a blender.
Step 3: Once the cream forms a soft peak, add condensed milk and mix or blend well. Then, add the smooth paste of coconut into it and mix.
Step 4: Pour this mixture into a mold and cover it with a lid or plastic wrapper. Freeze it for 4 – 6 hours and then eat.
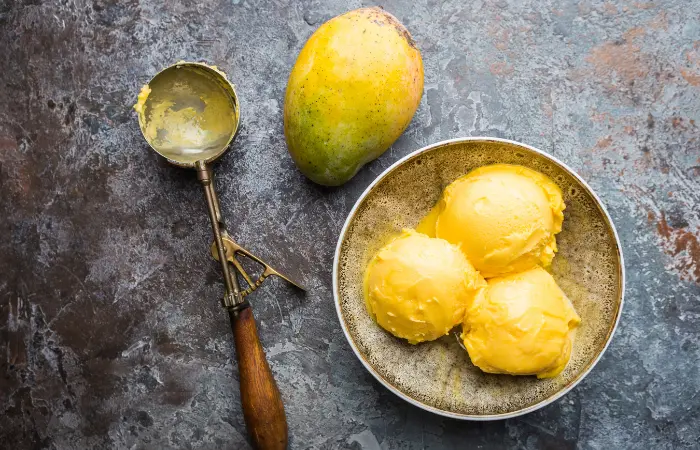
How to Make Homemade Mango Ice Cream in A Blender
Ingredients
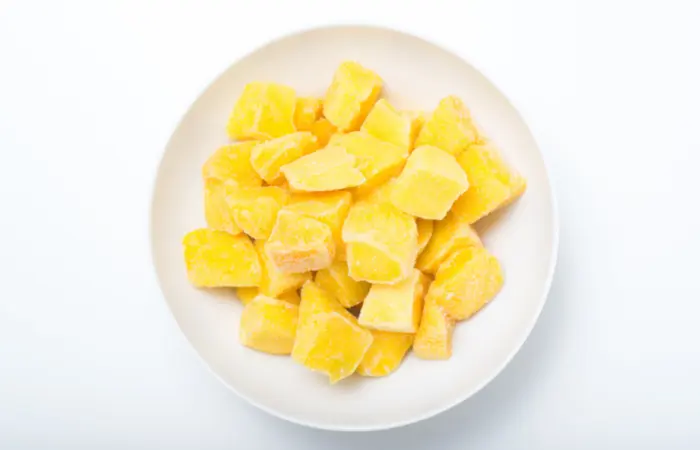
- 300 gm sweet, ripe mango, chopped into small cubes and frozen until completely firm.
- ¼ cup honey (if your mango isn’t much sweet, you may need more)
- ½ cup frozen full-fat yogurt or milk
Directions
Step 1: Put the yogurt or milk into the blender, followed by honey and frozen mango cubes.
Step 2: Blend it at high speed. It will probably be stuck at first. Then, all you are required to do is stop blending and then push the mixture down to the blade with a spoon. And, then again, blend well.
Step 3: Once you are done with blending, you can either serve it immediately as soft-style ice cream or freeze it for at least 1 hour.
Note: If you decide to freeze it for several hours, it may get a little hard to scoop. In such a situation, you just need to let it sit for around 5 minutes to soften slightly.
How to Make Pineapple Ice Cream in A Blender
Ingredients
- 2 cups of chopped frozen pineapple
- 1 cup of condensed milk
- 2 teaspoons of vanilla extract
- 2 teaspoons of squeezed orange juice (optional)
- 2 cups of heavy cream
Directions
Step 1: Blend the frozen pineapples into a smooth puree.
Step 2: Transfer the puree to a bowl, add vanilla extract, orange juice, and condensed milk, and mix well. Or, you can mix them in your blender too.
Step 3: In a bowl, take the heavy cream and make whipped cream by beating well. Add the cream to the already made mixture and combine well.
Step 4: Transfer the mixture to a container and cover it. Put this in the freezer for 4 to 5 hours, and then it will be ready to serve.
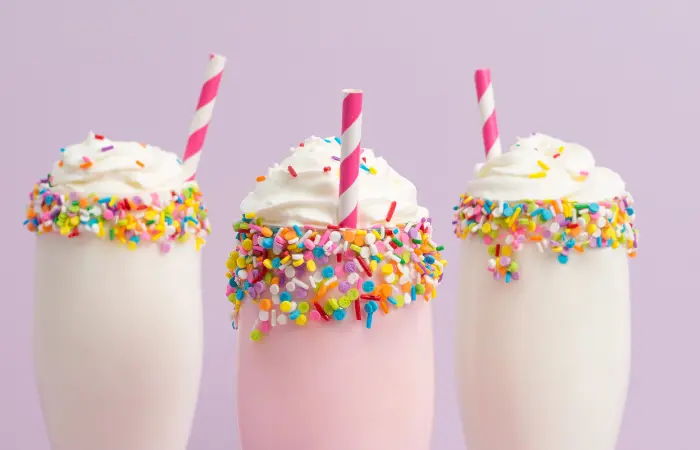
How to Make Ice Cream Milkshake in A Blender
After making any flavored ice cream, you can quickly make a milkshake and enjoy the ice cream with it. So, here is the recipe.
Ingredients
- 4 large scoops of ice cream
- ¼ cup of milk
- Topping of your choice (Whipped cream, sprinkles, cherry, etc.)
Directions
Step 1: Blend the ice cream and milk in a blender.
Step 2: Pour it into a glass and garnish it with sprinkles, cherry, or whatever you like.
Alright, by far, you have learned how to make ice cream of different flavors. Now, it’s time to know the pros and cons of this process.
Pros & Cons of Making Ice Cream in A Blender
Going through all the recipes, you have noticed that making ice cream with a blender is pretty straightforward. So, here are the upside and downsides of this easy process.
Pros
The advantage of using a blender is that it’s quick and doesn’t require advanced cooking knowledge or skills. Simply combine the ingredients finely and freeze.
Also, you don’t require much time to prepare the mixture. It will take approximately 20 minutes to gather the ingredients and blend them.
Cons
The only downside of this process is the texture. You won’t get the same slow churn as an ice cream machine.
Because of the rapid blending, your ice cream will have a slightly different texture than usual churned ice cream.
Some Combo Flavors You Must Try!
Now that you have the idea of the basic recipe, how about creating some awesome ice cream combos?
Yes, in this section, I will let you know some yummy combos that you should try at least once. Just remember the simple ratio of 1 cup of creamy liquid and 1 pound of frozen fruits to achieve the ideal consistency.
1. Mango + Coconut: When you want to get a tropical vibe, nothing can beat this combo! Just take frozen mango, coconut milk, honey, or any other sweetener, and enjoy a soothing ice cream on a hot summer day.
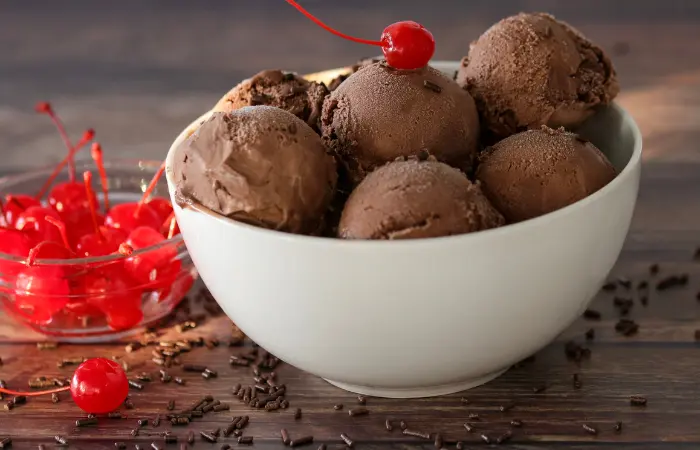
2. Chocolate And Cherry: Cherry with vanilla flavor is pretty common. But did you try it with chocolate? If not, it’s time to taste; I can assure you will love the flavor.
3. Blueberry And Lemon: Weird! You may be thinking this, right? But, the truth is that blueberries and lemons complement each other pretty well. All you need is frozen blueberries, vanilla extract, heavy cream or coconut milk, maple syrup, a bit of lemon zest, and lemon juice.
4. Honey Goat Cheese Ice Cream: If you find vanilla and chocolate pretty plain for your taste, you can make goat cheese ice cream to give your tongue a unique taste.
Now, if you are looking for how to make healthy ice cream in a blender, then you may choose dairy-free products. Check out the next segment for details.
Creamy Dairy Free Ice Cream Making Method
You can make creamy, dairy-free ice cream with ingredients like mangos, bananas, avocados, and full-fat coconut cream with other dairy-free add-ins like caramel or nuts.
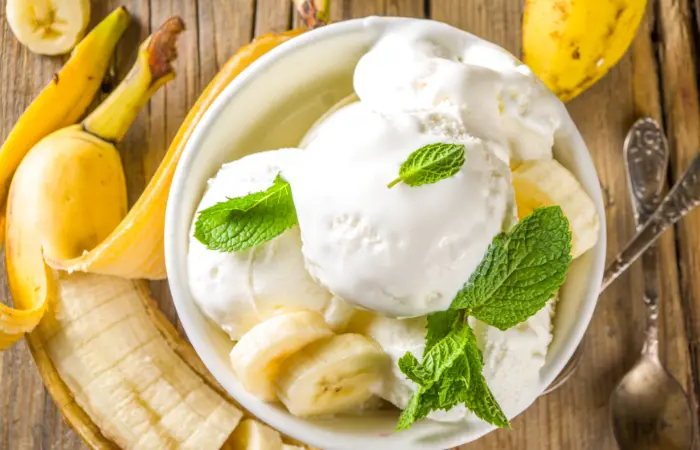
Blend them until smooth and freeze in an airtight box. When it becomes solid, you can scoop it and enjoy the taste.
It’s suggested to avoid high water content fruits in this case, such as watermelon or pineapple.
This recipe is good for your health and also yummy. So, you don’t have to worry as you will get the classic taste of ice cream.
Well, here comes an essential point you must check as I will share some tips regarding today’s topic now.
Tips for Making Your Ice Cream Creamy in Blender
Your ice cream will be creamy if you follow the following tips.
1. Don’t Over blend Your Mixture
Always blend your mixture until everything is mixed up. If you use a powerful blender, it won’t take more than 30 seconds or 1 minute.
It will be best if your blender has a built-in option that can slowly start the motor to help ingredients enter the blade, then swiftly increase the speed to the desired level to prevent spatter.
2. Use A Custard Base for Your Ice Cream
Using a custard ice cream base can make your blender ice cream have a thicker consistency. When creating the custard foundation, start by reducing the dairy content. Keep the remaining liquid in the fridge for later use.
Then, freeze the custard base in ice cube trays. Finally, combine the frozen cubes with the remaining milk that you placed aside earlier.
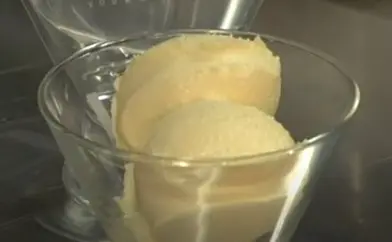
3. Use Powdered Milk
Even if you use standard ice cubes, adding powdered milk can help you create that familiar, creamy texture.
4. Freeze The Ice Cream Base Before Blending
Freezing the ice cream’s base item helps get the perfect creamy consistency. For example, if you use milk as the main flavor, pour some milk into ice cube trays and freeze.
Then, while blending, use these cubes instead of ice cubes. Consequently, your ice cream will have a creamier texture.
Okay, since there’s nothing left to inform you, it’s time to wrap up the topic.
Final Verdict
Now that you have learned how to make ice cream in a blender, it’s time for you to head towards your kitchen, grab all the ingredients and make it on your own.
Then, enjoy your chilled ice cream with your family, friends, or alone. Hopefully, the taste will make your day delightful and fun.
Frequently Asked Questions
How to store leftover blender ice cream?
Leftover ice creams can be stored in an airtight container. Then, wrap the top of the container with plastic wrap to prevent frostbite. Make sure to secure the top with a lid that seals it perfectly, keeping any air from getting inside. Then, place it inside the freezing chamber.
Is it necessary to freeze fruit to make ice cream?
To instantly create the ice cream texture, frozen fruit is needed. In order to make ice cream with fresh fruit, you would need to cut it up and freeze it first.
What type of liquid is best for making ice cream?
Creamy liquid like heavy cream or full-fat coconut milk is the best for making ice cream with a creamy taste and texture.
You may also use other liquids that you like. Use yogurt to make frozen yogurt, different types of milk for a lighter consistency, or even juice for a treat similar to sorbet.

