Whether you want to enjoy some delicious smoothies and soups or want to make sauces, the Ninja blender is always a great choice. They are powerful and have a long service life.
Yet, some problems may happen with your blender. After all, they are machines. And one of those problems is the pitcher getting stuck to the base while you are trying to remove it.
Although sometimes it comes out with little effort, it can also be accidental if you don’t know the proper way to get it unstuck.
So, my today’s mission is to guide you on how to remove Ninja 1000W blender from the base. But, before that, I want you to know the reasons behind this circumstance which will help you in many regards.
Why is Ninja Blender Pitcher Stuck in Base? Learn The Reasons!
All types of Ninja 1000W (or above) blenders contain different parts like the jar, also known as a pitcher, blades, jar base, and motor housing. The pitcher sits on the motor base, and you need to rotate the pitcher clockwise to make it locked in the base.
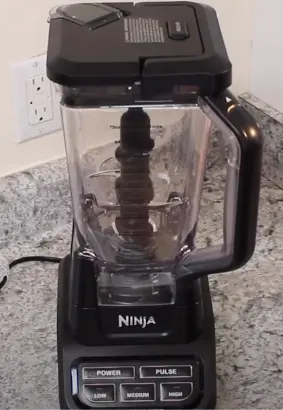
So, the usual way to get the pitcher out will be to rotate it counterclockwise, and it should be out. But, when it doesn’t, it means something is wrong. Now, there are several reasons behind this inconvenience, and I am presenting them one by one below.
Reason 1
You already know that there is a notch that locks the pitcher to the base. So, the first and most common reason is the notch somehow got stuck. As a result, you are struggling to separate the Ninja blender from the base.
Reason 2
Another reason the blender is jammed to the base can be due to the leaking seal of the bearing. When you blend food or make smoothies, the salty water and juices of the foods tend to leak through the bearings.
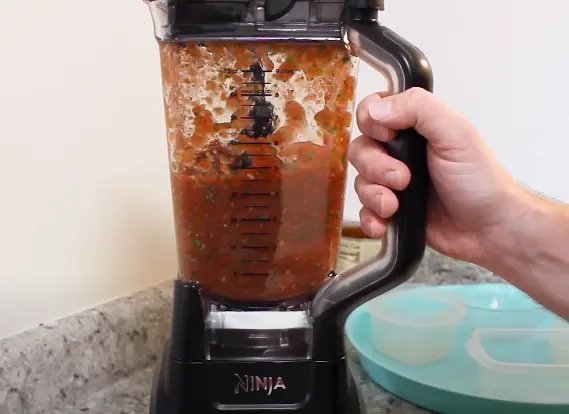
And over time, these seeping juices result in corrosion and pitcher jam.
Reason 3
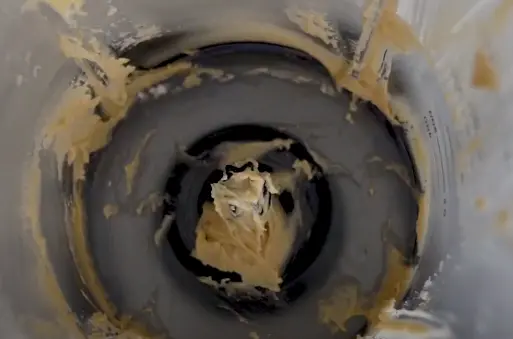
You know that the blade assembly mainly does all the hard work in the blending process. And it’s a common scenario that the gummy food gets stuck to the blade.
And these stubborn foods under the blade can easily cause it to get jammed to the bottom of the jar.
Reason 4
In addition to food becoming stuck in the blade assembly, the gear seal may also be broken, which might lead to the jar becoming jammed into the blade assembly.
Reason 5
Food items can also become stuck to the bottom of the jar, especially the seal at the bottom. And if you ignore these glued food items for a long time, they can cause the jar attached to the base to be extra tight, which makes it tough for you to pull them apart.
Reason 6
Now the last reason that I will talk about is the silliest!!
Yes, it’s not even a problem at all and just a matter of our unconscious mind.
Just like screws, the Ninja blender jar comes out when you rotate it in a particular direction which is usually counterclockwise. However, if you have been turning it the wrong way all the time, it’s normal that it won’t come out.
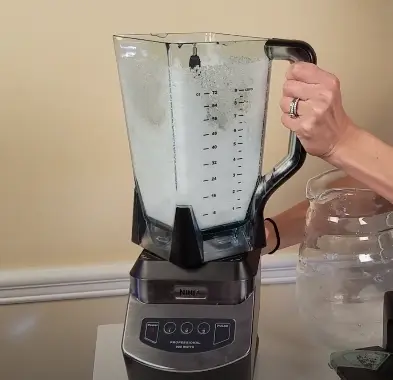
Sounds absurd, but I have seen my friend do so one time. And all along I was laughing inside seeing him.
So, be sure you are not burning all your energy by twisting it wrong.
Okay, now moving to the main point, how to resolve Ninja blender pitcher stuck in base issue? It’s finally time to get the answer.
How to Remove Ninja 1000W Blender from Base?
There are a few various methods you can use to free the pitcher when it gets stuck in your Ninja blender. So, follow these simple solutions to fix the issue.
1. Remove the Plug from Electrical Outlet
First and most importantly, you have to unplug the blender’s unit from the electrical outlet before you attempt to use any of these methods.
Now, even if your blender includes a non-contact automatic shut-off mode, I always prefer to be safe than have any regret.
Also, make sure to turn off the power button of the ninja blender if your blender has one.
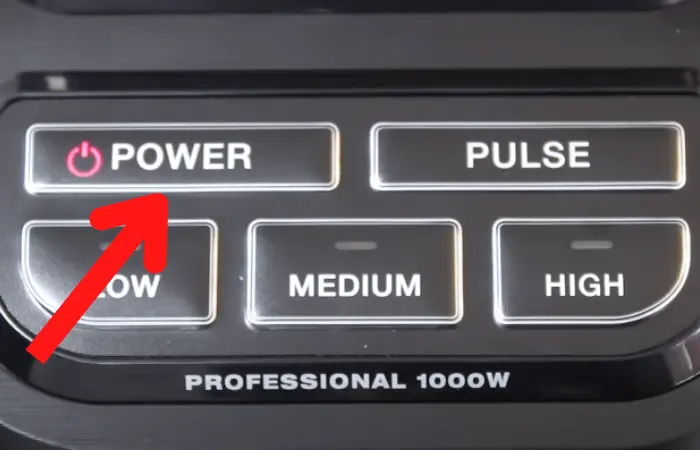
2. Try to Remove the Blender’s Bottom Following The Right Direction
Then you should twist the blender jar in the recommended direction by the manufacturer. The Ninja blender that I own follows the counter clock direction to unscrew. And I think all the 1000W Ninja blenders have the same feature too.
Still, make sure that you are twisting it in the right direction. If the counter-clock direction isn’t working, then you may try clockwise too.
Moreover, don’t forget to have a good grip on the jar with one hand and hold the motor base with another. Make sure both hands are dry, which will help avoid any slippage.
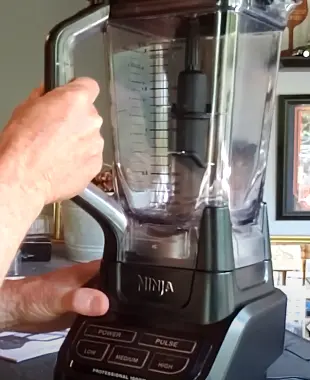
3. Wiggle the Pitcher Back And Forth, Then try pulling it up
Sometimes, the base is stuck and doesn’t come out with little effort. You have to wiggle or twist the pitcher’s handle back and forth and then try to pull it out from the base with a bit more strength.
It may take some time for you to get this right, but surprisingly doing such work often releases the blender’s jar from the base. It also shifts any contents that are stuck inside the pitcher.
4. Use Dishwasher Liquid to Detach the Blender Pitcher from Base
Suppose your jar is attached firmly to the base and doesn’t come out with the before-mentioned methods, then you’ll have to use a lubricant like regular dishwashing liquid.
No matter what type of dishwashing liquid you use to lubricate the appliance, you must first dilute it with water.
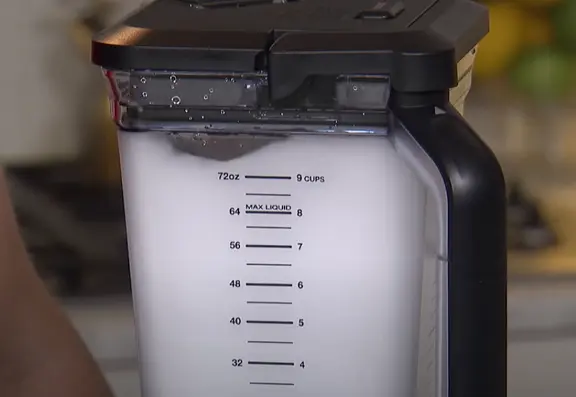
Now follow the below steps after you are done diluting the dishwasher.
Step 1: Open the lid of your Ninja blender’s jar and pour the diluted dishwashing liquid inside it.
Step 2: Then put the lid back on and plug the blender into the electrical outlet. Press the pulse button and let the dishwasher roam inside for a few seconds. It will help agitate the dishwashing liquid.
Most of the Ninja blender models, including the Ninja Professional 1000W, have a pulse function on the front side. But if your one doesn’t have it, you may press the button that has high speed.
Step 3: Next, turn off the blender and let the liquid sit for at least two to three hours. It will help the food dilute if there is some under the blade. And after that, the pitcher will likely come off from the base quickly.
5. Use Hot Water to Release Stuck Contents
Even after using the dishwasher, if the base doesn’t come out, it’s time to use hot water. The little heating-up process actually worked for me a few times when it got stuck.
So, first, unplug the blender and pour some hot water. Then run the blender for about 30 to 40 seconds.
Don’t put extremely hot water that can damage the plastic of the jar.
After that, turn off the blender and rotate the blender base around as you aren’t sure what is causing the jam. Next, remove all the water and set it aside to dry.
Then, unscrew the jar again, and you should be able to detach them.
6. Adjust The Blender Base Assembly
After you successfully remove your pitcher from the base using any of my mentioned methods, there is something you have to do so that such an incident won’t happen any soon.
First, unscrew the blender blade assembly and look for any stuck food on it. If you find stuck food remains, then rinse it well under the sink.
It’s better to wash the blade with soap and water. It helps to get rid of the gooey stuff without much scrubbing.
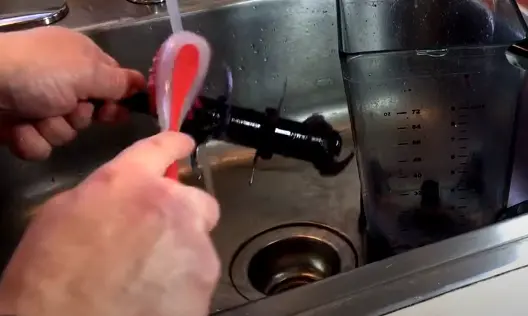
Now in case your blade assembly seals are damaged, then you should buy a new one and replace them. If you keep using the damaged one, there is a high possibility that the pitcher will get stuck again.
By the way, are you worried about the new blade assembly price? Don’t!!
Yes, the good thing is that Ninja Blender’s blade assemblies are not that expensive and come with gasket rubber.
Another advantage of buying a new blade assembly is that you will get a fresh and sharp blade. Hence, you won’t have to worry about sharpening your old blades.
Anyway, whether you washed your old blade or bought a new one, make sure to place the assembly again correctly.
7. Check Out The Bottom Base
Now, if the blender’s blades are working finely and there is no trace of stuck items, then the problem may be in the base (the component that houses the motor).
If you notice any damage to the locking system or the base itself, you will either have to fix it or replace it with a new one.
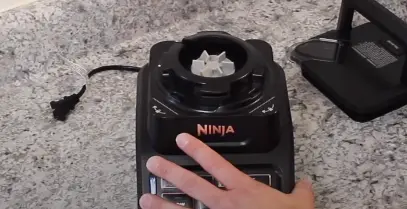
Therefore, first, check out if your blender’s manufacturer warranty is still valid or not. If it’s valid, then ask for repair; if not, buy a new one.
8. Contact Ninja Blender Customer Service for Further Assistance
Last but not least, if you are still covered by warranty or have a valid receipt for your item, Ninja customer care should be able to assist you in removing your pitcher from its base.
Anyway, now that you learned how to get a Ninja blender off the base, it’s time to know some facts to prevent the pitcher from getting stuck.
How To Stop A Blender Pitcher From Getting Stuck In Base?
Whether it’s Ninja or other brands, it’s better to take proper care of your blender and use it in a safe way. If you don’t do so, the pitcher can get stuck easily.
So, first, you must clean the jar properly from time to time.
Clean The Pitcher Properly
Although there are many ways to clean the Ninja blender Jar, the easiest way is using the dishwasher.
The Ninja blender container, lid, and blades are all dishwasher-safe. Hence, there will be no problem using it.
This is an excellent strategy to use if you don’t have much time or are simply not in the mood to wash any dishes by hand. Additionally, since you are not using any running water, cleaning Ninja blenders in this manner is also eco-friendly.
But, if you don’t own a dishwasher, don’t be upset. There is another easy way, which is self-cleaning.
Start with filling your Ninja blender jar with warm water and add a bit of dish soap. Then, close the lid and turn on the blender at medium or high speed for around a minute. Next, empty the jar, give it a good rinse with clean water, and then air dry it.
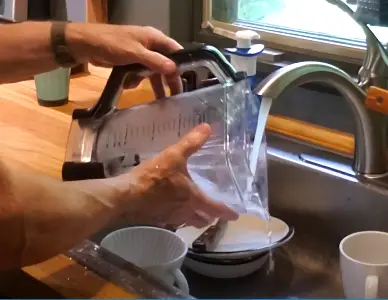
Keep in mind that this process will only work well if you clean your blender right after using it. But, if you let the food residue dry out, you will have to soak the blender in warm water before cleaning it.
Anyway, besides the pitcher, you also need to clean the base.
Also, Clean the Ninja Blender’s Base
You can use a moist cloth to wipe off the blender’s base to clean it. You can scrub any food or dirt off the base with a toothbrush or cleaning brush if it is stuck there. If necessary, you can also clean it with a little water and dish soap.
Since you got a guide on how to clean a Ninja blender and there is nothing more to describe, let’s move to the conclusion.
Wrap Up Thoughts
Hopefully, my writing on how to remove Ninja 1000W blender from base was a great help to you.
Don’t forget to take proper care of your blender cause it’s best to be conscious before than regret after.
Lastly, have a great day..
Frequently Asked Question
Why did my ninja blender stop working?
Sometimes, the Ninja blender stops working, and there are many reasons behind it. If such a thing happens, unplug your blender and check the blade assembly and base.
If you find any buildup, this might be the issue. Hence, carefully clean it and try to run the blender again.

