When your baby turns about 4 to 6 months old, it’s the appropriate time to start giving him/her certain soft solid foods. And using a blender is the easiest solution to immediately make some flavorful yet nutritious blends.
But do you even know how to make baby food at home with blender? If not, I will help you learn this process today through this writing. With a blender, your meal preparation time will be minimized. Cut, cook any solid ingredients, toss in your blender, and blend to your desired consistency.
Now, before getting into our main topic, there are some facts that you need to know. For example, whether you should make baby food yourself or buy from the store, which way is the best for making it quickly, and a few crucial notes to keep in mind.
So, let’s talk about these queries first, and then we will move on to learn the blending process.
Should You Buy Baby Food Or Make It Yourself?
I have seen many parents dropping money on tiny jars of pureed fruits and vegetables for their babies. And guess what their excuse is? Of course, busy schedules!
Now, if you are one of them, ask yourself this question: Should you buy baby food when making it yourself is a far better option?
Here we go. First of all, store-bought baby food usually contains more sodium, more sugar, and less fiber compared to the same amount prepared at home using the same ingredients.
Moreover, the food itself must be sterilized in order for it to have a shelf life of approximately two years. This procedure has been known to lower the amount of vitamins and other nutrients in the food and negatively impact flavor.
Making your own baby food at home with a blender allows you to choose fresh and nutritious ingredients. There will be no compromising on quality, and you will be able to create delicious flavors that your child will love.
And, lastly, how can we forget about the price tag!? Most of the baby food in the store costs 2 to 3 times as expensive as homemade baby food of the same quantity.
So, if you have a blender, the necessary ingredients, and a few spare minutes, it’s always best to make baby food yourself at home. In that way, your baby will be able to have healthy and preservative-free food from the beginning. And as a parent, seeing your baby grow with a healthy and fit body can compare to nothing!
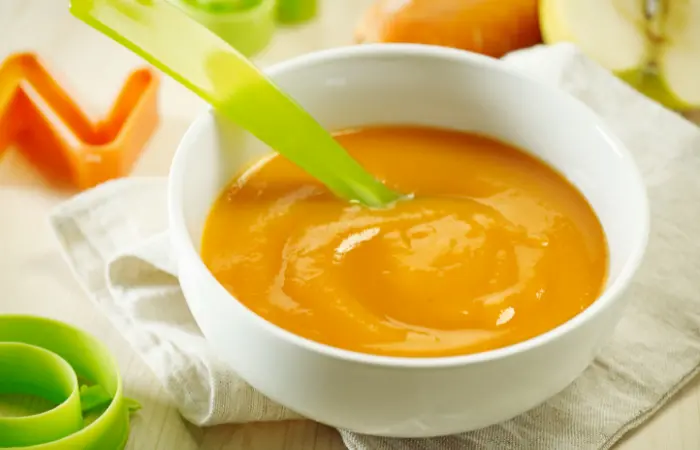
What Is The Best Way to Make Baby Food?
If you ever thought that you needed a baby food maker to puree baby food, it’s not. From my own experience, I have found that using a blender is the easiest and less time-consuming way to make baby food at home.
You can quickly puree a wide range of ingredients in a blender with a consistency perfect for feeding your baby. Also, you will be able to blend in bulk and store for later.
Oh, by the way, you can also use an immersion or stick blender. Even a food processor will work too. They can do more than just chopping and mixing. But note that a blender can achieve smoother consistency, especially for fibrous ingredients like kale or celery. And as you can use a blender like a food processor, it’s always best to choose a blender.
In short, using a blender is by far the best way to prepare baby food, and there is hardly a home kitchen that doesn’t have this appliance.
Important Notes for Making Baby Food According to Age
Although most homemade baby food recipes are designed for younger babies who are 4 to 6 months old, you can use them for older babies as well as toddlers. But be sure you are providing the right food consistency according to their age. So, here is what you should follow.
For 4 months old
Make sure to blend their food smoothly and free of any chunks, as they are way too young. You can add a little extra water or (mother) milk to the puree to make it creamier.
For 5 months old
Smooth and soft puree that is a little bit thicker and has less water added to it.
Note: Before making any dietary changes for your baby, be sure to consult your pediatrician. Additionally, test each item on your baby individually before using it in any baby food recipes to check out any possible food allergies.
For 6 to 9 months old
You can blend more than one ingredient and choose a wider variety of ingredients. The food may have a thicker consistency.
For 9 to 12 months old
Blended food that has soft chewable chunks of fruit and vegetables.
Required Kitchen Tools for Blending Baby Foods
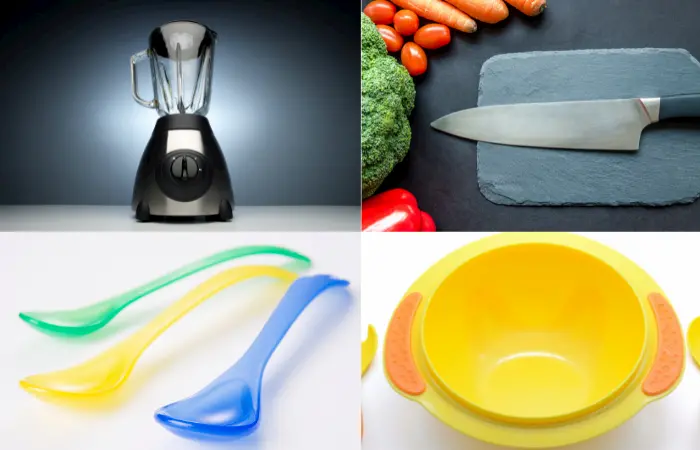
To make baby food recipes throughout this writing, you will need the following pieces of equipment.
- Blender (Countertop blender is preferred, but you can also use an immersion one if yours is very strong)
- Knife for chopping foods
- Spoon
- Bowls
- Freezer bags or baby food storage container
- Ice cube trays
Alright, it’s finally time to learn how to make your own baby food with a blender.
How to Make Baby Food at Home With Blender? Step By Step Guide
Although your recipes may vary depending on the ingredients, you can follow this basic step-by-step guide and learn how to make baby food with a blender.
Remember, this is the basic instruction for the process, and you can also create unique flavor combinations suitable for your baby’s growing appetite by following these steps.
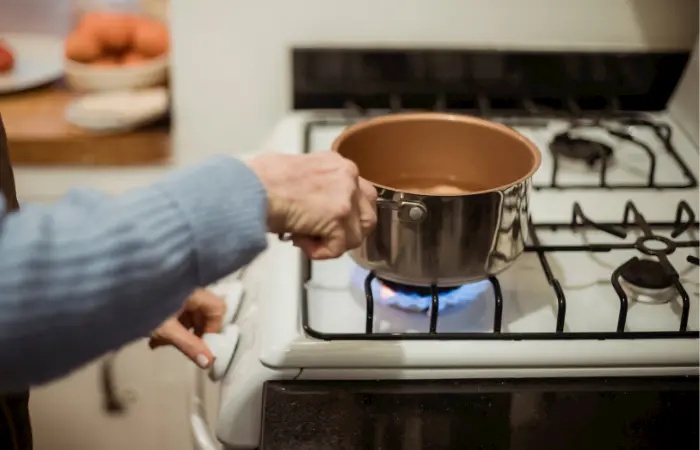
Step 1: Steam, Roast, Or Cook The Ingredients If Needed
If you are making a baby food recipe that calls for firm ingredients like apples, carrots, or sweet potatoes, you will have to soften them first. Since the options of ingredients are so many, you can try different cooking methods, such as roasting, steaming, boiling, or even microwaving, to produce the ideal soft texture for blending them.
Note: If you boiled or cooked your ingredients in liquid, set the liquid aside so you can use them later in the recipe. Using the cooking water will preserve more nutrients in your baby’s food.
Step 2: Add The Ingredients to Your Blender
Add your softened vegetables, fruits, or other ingredients to the blender container. Don’t fill the container more than 2/3. Then, close the lid firmly.
Step 3: Blend The Ingredients to Make A Smooth Puree
If you want to achieve a smooth consistency, run your blender on high speed continuously for 30 seconds to 1 minute. But, if you want a chunkier outcome, pulse your machine 5 to 6 times or until the desired consistency is obtained.
Step 4: Thin Out The Baby Food With Liquid
If your baby is 4 to 6 months old, you will have to make your food with a slightly thinner consistency. So after running the blender for 30 seconds, add the reserved cooking liquid a little bit at a time and then blend for a short period until your food is completely smooth with no chunks left.
Now, if your recipe didn’t leave any liquid behind, you can use plain water, breast milk, or formula, whatever you prefer. That’s it. Your homemade baby food is ready.
You can skip adding the liquid if you want to store your baby food in the fridge or freezer. If you store your mixture before adding liquid, it will take up less space, and you may adjust the consistency for each serving later.
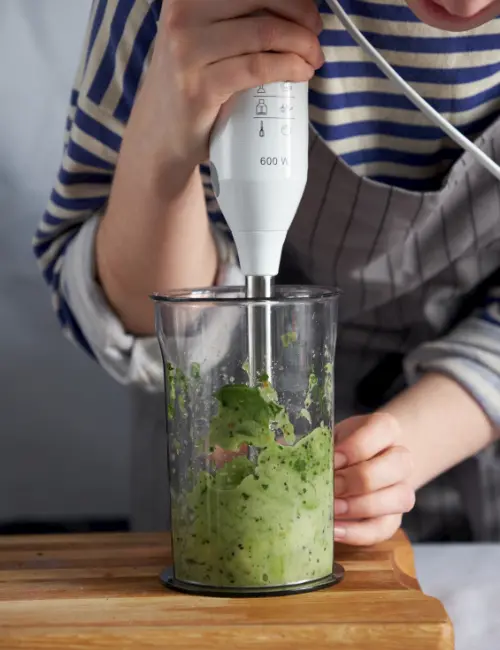
Now, if you opted for using an immersion blender, you obviously want to know how to make baby food with a hand blender, right?
In that case, after step 1, put all your softened ingredients in a large bowl and then blend with the stick blender until everything is smooth. And don’t forget to add the liquid little by little in between your blending.
Specific Instruction for Using Blendtec & Vitamix Blender
If you use either Blendtec or Vitamix blender, here are instructions on how to blend baby food with these brands’ blenders.
Making Baby Food in A Blendtec
Step 1
Measure 2 cups of one or more ingredients and prepare them accordingly (cut, boil, or roast). Place the prepared foods into the Blendtec jar along with 1/4 cup of water, breast milk, or formula, and secure the lid.
Step 2
To finely puree the foods, press the SPEED UP button until the blender reaches speed 4. Let it run for about 15 seconds, and then push the PULSE or X button to stop. Remove the lid and check out the texture.
If the mixture is too thick, add more water, breast milk, or formula (1/4 cup at a time). Keep blending until you achieve desired consistency.
Step 3
Serve right away. If you have leftovers, store them in the refrigerator. I have provided the storing process in a later segment.
Making Baby Food in A Vitamix
Step 1
Put 2 cups of prepared ingredients into the Vitamix container with 1/4 cup of liquid of your choice (formula, breast milk, water) and close the lid.
Step 2
Select the Variable 1. Then, turn the machine on and slowly rise to variable 4. Depending on the materials used, increase the speed as necessary to reach the required consistency.
Step 3
Blend for 20 to 30 seconds. If the blend is too thick, add your chosen liquid 1/4 cup at a time and then blend until you achieve the required texture. Feed your baby immediately or store it for later use.
Alright, till now, you only learned the basics of how to make baby food with a blender without any recipe. So, it’s finally time for you to learn some recipes that are not only easy but also yummy.
8 Easy Baby Food Recipes Made in Blender You May Try Now!
If you have no experience making baby food, don’t worry! I got your back. I will share recipes for three different stages of babies: stage 1 (4 to 6 months), stage 2 (6 to 8 months), and stage 3 (9 to 12 months). So, here are 6 simple baby food recipes to get started with.
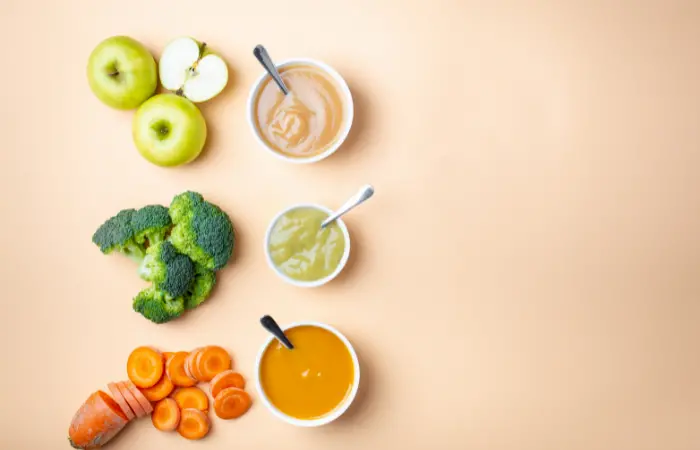
1. Sweet Potato Puree
Making sweet potato puree is quite simple. You just need to bake, peel, and then blend until smooth. It’s a fantastic first food for babies. You can start with this recipe if your baby is around 4 to 6 months old (stage 1).
Ingredients
- 2 sweet potatoes
Directions
1. Preheat the oven to 400°F. Then, wash the sweet potatoes and poke a few holes with a fork. Place them on a baking sheet and put them in the oven. Bake for around 60 minutes or until the potatoes are wrinkly and fork-tender.
Instead of baking, you can boil them too. But, before boiling, cut the potatoes into small pieces for quicker cooking. You can either peel off the skin before, but if you boil without peeling, the skin will come off anyway while boiling, saving you time. Then, drain the potatoes and save the liquid for later use.
2. Remove from the oven and let them cool. Once they are cool enough to handle, peel off the skin. Now, add the potatoes to your blender and blend until smooth. If you have boiled your potatoes, make sure to add the saved liquid between blending.
By the way, you can use this blend in other recipes that call for sweet potato puree, such as in baking recipes, serving as a side meal, or mixed into oatmeal. You can also mix this while making a smoothie with various fruits and vegetables.
2. Mango Puree
For stage 1 babies, mango puree is excellent and can be served straight up with a spoon. Since mangos are high in water and dietary fiber, it is believed to help in relieving constipation and diarrhea.
While babies are introduced to the new food, they might experience gastrointestinal problems, and this mango puree can help alleviate them.
Ingredients
- 2 ripe mangoes (washed, peeled, and pits removed)
Directions
1. Chop the mangoes into large pieces. Place them in your blender and blend at high speed until smooth.
2. If the puree seems too thick, add a little milk or water to thin it. You may start with 1 teaspoon or 1 tablespoon at a time and add more if needed.
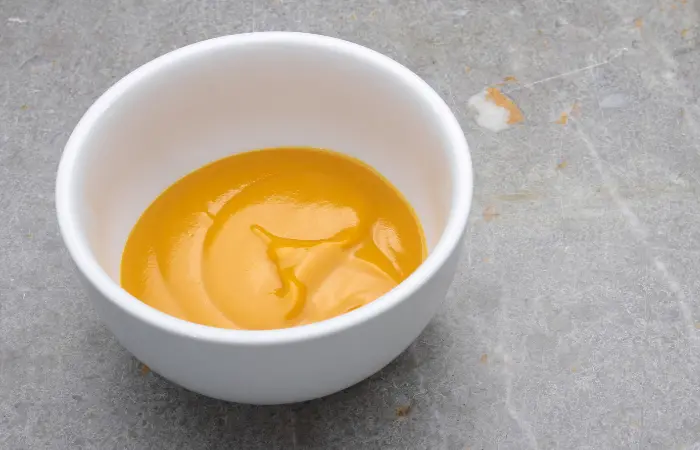
You can use frozen mangoes too. But make sure to thaw them before putting them in the blender. So, if you have ever thought of what to do with your frozen fruits, one great idea is to use them in making baby foods like this.
3. Strawberry Banana Puree
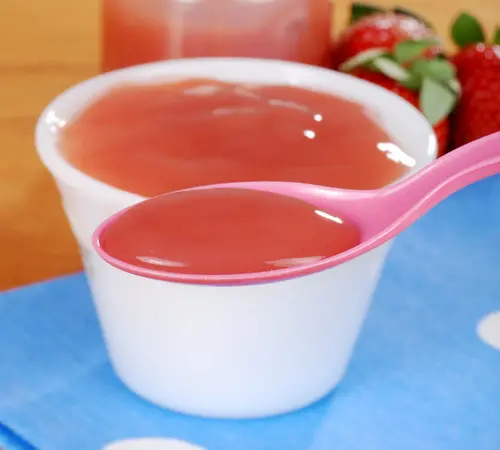
This recipe is suitable for stage 2 babies. After feeding your baby regular puree items like bananas, potatoes, apples, and so on, if you sense that your baby is getting bored, you can try this to tickle their taste buds.
Ingredients
- 3 to 4 fresh rinsed strawberries
- 1 small ripe banana
Note: If you don’t have strawberries available, you can use other berries, like raspberry and blueberries.
Directions
1. First, wash and hull the strawberries. You can do this by inserting a straw into the leafy section and pushing it out the other end. Then, chop the strawberries. Next, peel and slice the banana.
2. Add the pieces of fruit into the blender and puree until smooth and lump-free.
3. Serve the puree right away.
4. Asparagus Apple Puree
When you want to add vegetables to your baby’s diet, give this recipe a try. Since it gives a sweet touch to asparagus, your baby is gonna love it. Also, asparagus supports the digestive system as it is high in folate. By the way, this recipe is suitable for feeding stage 2 babies.
Ingredients
- 1 and 1/2 cups of asparagus spears sliced
- 1/2 cup of cubed sweet apple
Directions
1. First, you need to wash, peel, and then cut the apple and asparagus.
2. Put the asparagus and apple in a steamer and cook for about 10 to 15 minutes until they are tender and cooked through.
3. After that, put them in the blender bowl and start blending. Add the cooking water if needed to reach a smooth consistency.
5. Chickpea And Vegetable Puree
This homemade baby food recipe is highly nutritious and suitable for 6+ months of babies. With chickpeas, you can blend different vegetables. For my recipe, I chose cauliflower and sweet potato. If you want, you may substitute them with carrots and celery.
Ingredients
- 1/2 cup of canned chickpeas (drained and rinsed)
- 2 and 1/2 cups of small cauliflower florets
- 1 medium-sized sweet potato (peeled and cubed)
Directions
1. Put the sweet potato and cauliflower in a steamer and steam for about 12 minutes or until they are tender. Drain and reserve the steaming water for later use.
2. In a blender bowl, place the steamed cauliflower and sweet potato. Add the chickpeas and blend until desired consistency. For a more smooth texture, add the steaming water and blend.
3. Serve immediately or store in the refrigerator.
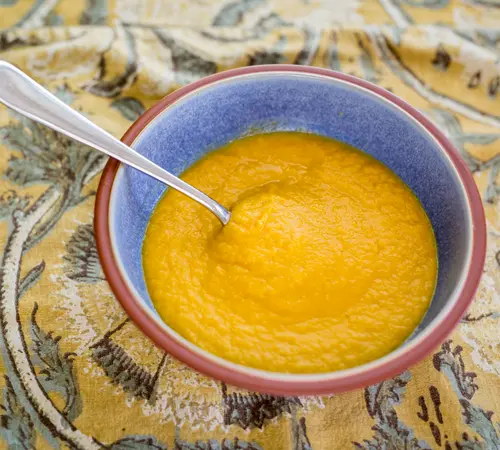
For older babies who are 9+ months, you can mash the chickpeas and vegetables with a fork. For this, you won’t even need a blender. This method will leave bits for your baby to chew.
Besides the fork, there are many other ways of blending without the blender, like using a potato masher or food mill. You may try those tools too.
6. Peach, Pear & Apple Puree
Because of the combination of peaches, apples, and pears in this recipe, it is naturally sweet without added sugar. Hence, your baby will surely love this sweet yet smooth puree.
Ingredients
- 1 cup of pears (peeled, core removed, and diced)
- 1 cup of apples (peeled, core removed, and diced)
- 1 cup of peach (peeled, pitted, and diced)
- 2 tablespoons of the cooking water
Directions
1. Place the diced apples, peaches, and pears in a saucepan with water. Bring to a boil, then lower the heat and simmer the mixture for 10 minutes or until the fruit is tender. Drain, and reserve a small amount of water.
2. Add all the boiled fruits to the blender and blend until you achieve the required consistency. For a coarser texture for older babies, you can pulse the fruits a few times.
7. Spinach Soup
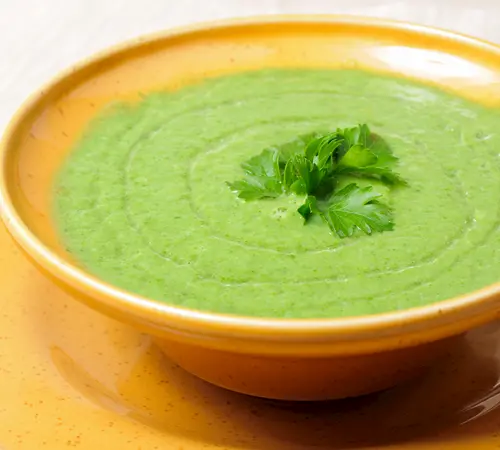
Spinach is an essential food that you need to introduce to your baby as they are rich in folic acid and iron. You can add this to the diet if you have a 9+ month-old baby or a toddler.
Ingredients
- 2 cups of spinach
- Half an onion chopped
- 1 clove of garlic
- Butter (use avocado oil or olive oil for a vegan version)
- Cream (optional)
- Water (as required)
Directions
1. Wash all the spinach leaves and set aside to drain the water. Now, place a pan on the stove, and add butter to saute. Add the chopped garlic and onion and roast up until they are soft.
2. Add washed spinach to the pan and roast them until they are soft and have changed color. Pour a cup of water and let it boil for a few minutes. Remove from the burner and let it cool.
3. Now, blend everything in a blender until smooth. Next, allow this mixture to boil for a couple of minutes. Add water if needed.
4. Finally, healthy spinach soup is ready. Serve it with a spoon of cream (optional). If your baby is 12+ months, you can add salt & pepper.
8. Fruit Oatmeal
This homemade baby food recipe is particularly beneficial if your baby is dealing with constipation. Even babies who don’t need any help with digestion will benefit from it because this meal is loaded with vitamins and nutrients and is free of added sugar. Older kids will also like it if served non-pureed.
Ingredients
- 1 tablespoon of non-instant oats
- 1/2 small ripe banana mashed
- 1 tablespoon of chopped raisins
- 1 small pear (peeled, core removed, and diced)
- 1/2 teaspoon of ground flax seeds (optional, to help relieve constipation)
- Water as required
Directions
1. Place all the ingredients in a saucepan and boil over medium heat. Then, reduce the heat to low and cover with a lid. Allow this mixture to simmer for about 10 minutes.
2. Transfer everything in the saucepan to a blender jar and blend until the required consistency is reached.
Benefits of Homemade Baby Food
If you are still thinking about whether to make your own baby food or not, here are some benefits that will surely motivate you.
1. Making Own Baby Food Saves Money
While making your own baby food requires more effort than simply opening a jar, it is much cheaper. You can compare any jar of baby food price with the same amount of ingredients cost. You will see that buying fresh ingredients and making them yourself will cost much less than buying.
2. Less Exposure to Toxic Heavy Metals
There have been numerous reports in recent years that some commercial baby food contains heavy toxic metals. Although the amount found is relatively small, it is still dangerous.
While the FDA is working to enhance the monitoring and regulation of heavy metals in store-bought baby food, it is still challenging to determine which ones are completely safe and which aren’t.
Therefore, the benefits of making your own baby food include knowing what is going into your child’s stomach and avoiding heavy metals that can contaminate baby food during food production and packaging.
3. Making Own Baby Food Is Much Healthier
A study found that store-bought baby food contains more sugar and sodium when compared to homemade baby food. You may already know that babies don’t need any added sugar or salt. Instead, they should be given natural flavors of food to develop a diverse yet healthy palate.
4. Baby Experiences More Flavors And Textures
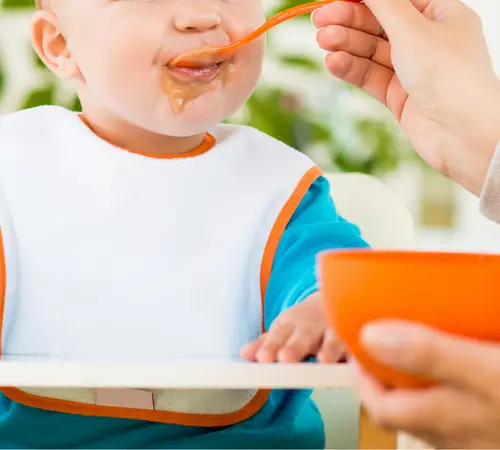
Even though store-bought baby food is convenient, the flavors are vastly different from homemade ones. Studies show that many commercial baby foods that advertise being high in green veggies contain very little of them and are often sweetened with fruit puree, which changes the flavor.
Hence, when you make your own baby food, you have full control over providing lots of different flavors, which will help your little one develop a habit of eating a wide variety of foods from an early age.
Alright, it’s finally time to learn the storing method of homemade baby food.
How to Store Blended Baby Food?
In the beginning, your baby will eat a small amount of solid food, and that’s why there will be leftovers. Also, if you want to save time, you can prepare several portions and then feed your baby whenever needed. And for both purposes, you need to know how to store blended baby food.
You can keep your homemade baby food in a small glass, plastic, or silicone containers. It is preferable to immediately freeze the remaining stock because homemade baby food can be stored in the refrigerator for up to two days.
Freshly prepared baby food must be refrigerated within two hours since, beyond that time, bacteria will start to grow at room temperature. Also, remember that the temperature in your refrigerator should be at or below 40 ° F.
Don’t forget to label the containers with the contents and the date of preparation. You can also store them in the freezer for about one to two months.
By the way, after freezing baby food, do you know how to defrost and reheat them? If not, my next segment is all that you need to check.
Defrosting & Reheating Instruction
Take your homemade baby snack out of the freezer the night before if you want to feed it to the baby. Leave it in the refrigerator section to thaw.
But, if you need to speed up things, you may also defrost them in the microwave. However, defrosting outside the fridge isn’t suggested as bacteria may grow.
For reheating, you can follow different ways. You can use bain-marie by placing the jar or container in a pan of hot water. You can use a bottle warmer sometimes. But, of course, using the microwave is by far the best option.
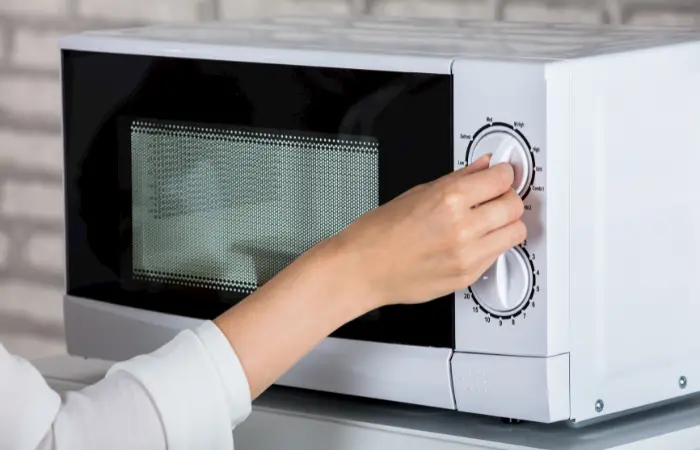
Make sure the meal doesn’t get too hot while heating it. After heating, also stir it frequently. Always taste it first to ensure that the food is not overly hot or cold for your baby.
Closing Words
Hopefully, my guideline on how to make baby food at home with blender was a great help for you to learn the entire process. Make sure to try the recipes that I described and follow all the tips.
That’s all for today.
Frequently Asked Question
Does blending baby food destroy nutrients?
The nutritional value of blended food may be lower than the regular ingredients. It’s because some nutrients in the food are lost during the preparation and cooking process as well as during the blending.
While preparing foods, you often have to remove the hard skins of fruits and vegetables. Thus, a lot of fiber is lost during this process. On the other hand, some water-soluble nutrients, such as Vitamins B and C, are also lost when food is boiled or steamed before blending. That’s why using cooking water in blended food is recommended.

