When it’s chill time, smoothies or cocktails are a must. But what if you don’t have crushed ice!? Well, many people still buy pre-crushed ice to chill their drinks when making crushed ice is easy at home if you know which kitchen tool to use.
You just need to have some ice in your freezer and a blender! Yes, you can have instant crushed ice for your drinks if you know how to crush ice in a blender.
Now, wait, wait! You can’t just throw a block of ice in your blender and start blending cause it may damage the blades and motor of your appliance. You need to learn the proper techniques, which I am gonna help you with today.
From this writing, you will know whether you can use your blender to crush ice, how to do it without messing up, alternative tools that you can also use, and loads of other related tips. So, make sure to stay with me till the end.
Is It Possible to Crush Ice in A Blender? The Exception Case!
Yes, you can definitely crush ice in a blender, but it will be best if you have a higher-end blender with a powerful motor and blades. The higher performing your blender will be, the better crushed ice you will have.
However, if your blender is cheap and costs less than $30, you may face issues with blending even just 4 to 5 ice cubes. It will be best if your blender has a specific “Ice Crush” setting.
Now, don’t be sad if you have a low-speed blender. It is still possible to use it. You have to use a little amount of ice at a time and process slowly to get the right consistency. So, it’s just a matter of time.
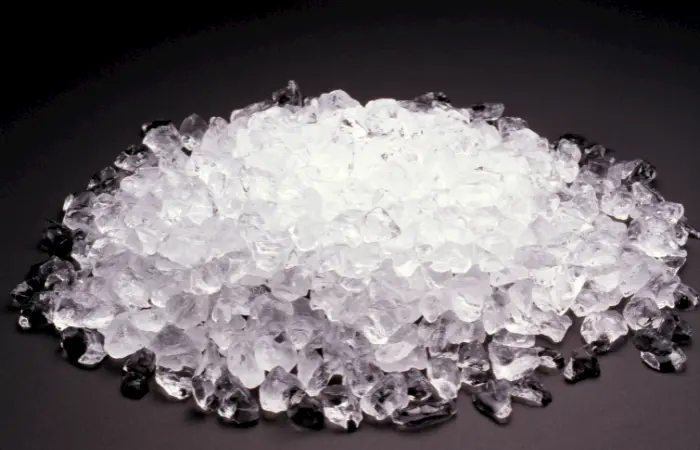
By the way, whether you have a high-speed or inexpensive blender, there are a few other things you have to keep in mind before starting the crushing process.
Important Things to Keep in Mind Before Using A Blender
The material of your blender pitcher plays a vital role when crushing ice. Some blenders have plastic or thin glass jars that aren’t suitable for crushing lots of ice. If you have these types of models, there is a high risk of cracking the jar. Not to mention that it may damage your blender as well.
If possible, always crush ice in a glass jar. It’s because glass jars are strong, more durable, and capable of providing greater stability than a flimsy plastic pitcher.
I advise you to check the user manual to see whether the pitcher of your blender is suitable for crushing ice or not. If your blender doesn’t specifically mention crushing abilities, a good rule of thumb to know whether it is suitable is to determine if the motor has at least 400W of power. If so, blend away.
By the way, that doesn’t mean that all plastic blenders are incapable since there are models made of strong and durable plastic. Now, in case there is no instruction in the manual, and you aren’t sure if your jar is strong enough to crush ice, you can start with using small ice cubes.
If your blender still lacks, it’s better to crush ice manually using other tools and make smaller ice chunks. Doing this will reduce the strain on your blender and protect it from overheating.
However, if you sense any issues using your blender, you better switch to another method for crushing ice. I have also discussed alternative ways in another segment.
But first, let’s learn how to crush ice cubes in a blender.
How to Crush Ice in A Blender? Step By Step Guide
There are many other ways to make crushed ice, but using a blender is undoubtedly the best among them. Whether you want to add some crushed ice to your cocktails or blend slushies, using a strong blender is the best to achieve the required fine consistency.
Although it may seem an easy task, there are some things that you need to follow so that you can get the right consistency without damaging your machine. So, here is the step-by-step guide.
Step 1
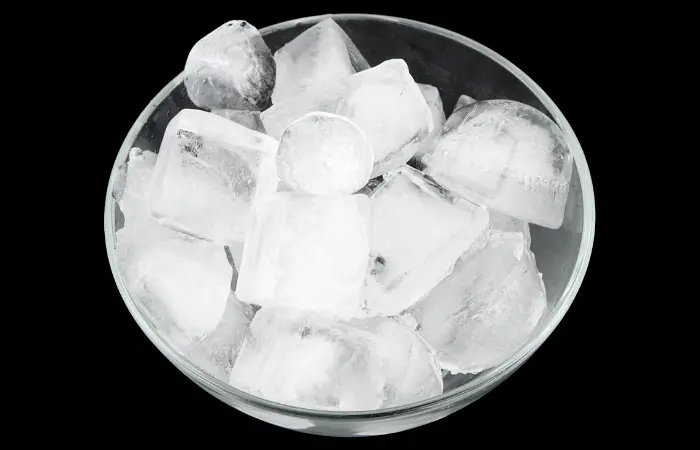
First of all, take out the ice from your freezer and let it sit on the kitchen counter for around 3 to 5 minutes.
As I said before, check your blender’s user manual to see if it is suited for crushing ice. If so, read all of the instructions. In most cases, the manufacturer shares some tips and tricks for their machine. Therefore, it will be beneficial to increase your understanding of ice-crushing techniques for your specific model while also following my next steps.
Step 2
So after the ice has rested for a few minutes, it’s time to put them into your blender container. But don’t fill it more than a third full. It will be more difficult for the ice to go down to the blades if it is packed too densely or if you put too many ice cubes at a time.
In short, leave plenty of free space so that the ice cubes have enough room to bounce around.
Step 3
Now, close the lid and then press the pulse button on your blender for a minute while giving two seconds intervals between each pulse. You may also hold the pulse button for 3 to 4 seconds each time to crush the ice thoroughly.
You may also consider adding small amounts of water or juice to speed up the crushing process. It will give the blades a bit of friction at the same time. It will also stop the ice cubes from sticking to one another as they spin.
In case your blender doesn’t have a pulse setting, use the maximum speed setting for short time intervals instead.
Step 4
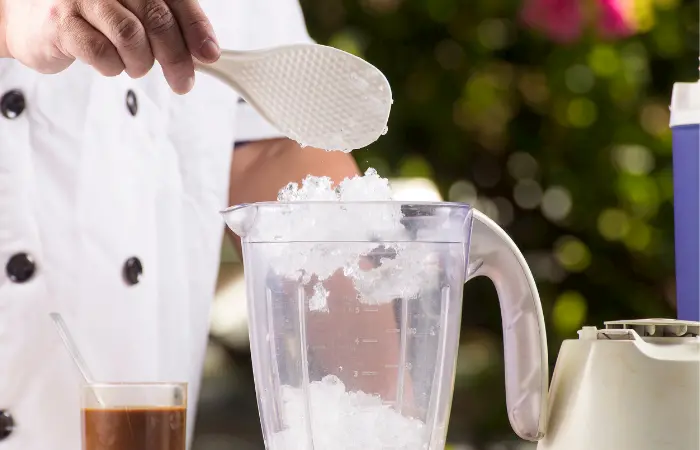
After using the pulse button five to six times, set your blender to crush at medium speed, and then gently shake the blender pitcher for 15 to 30 seconds to churn the ice. If your blender has a lid-mounted stir stick, you can use it to move the ice and help it crush faster.
Anyway, now the question is when to stop blending, right? Well, a good rule of thumb is to stop blending when the majority of the ice chunks are around 1/4 to 1/2 inch in size.
Note: During the ice processing, if you like to blend protein powder to make a shake, then this is the time. In order to achieve a smoothie-like consistency, add the powder while the crushed ice is spinning.
Step 5
After you reach the right consistency, turn off the blender and mix it in your drink. If you didn’t add juice or other ingredients during blending and want to use crushed ice for topping your margarita or other drinks, you need to strain it to remove the excess water.
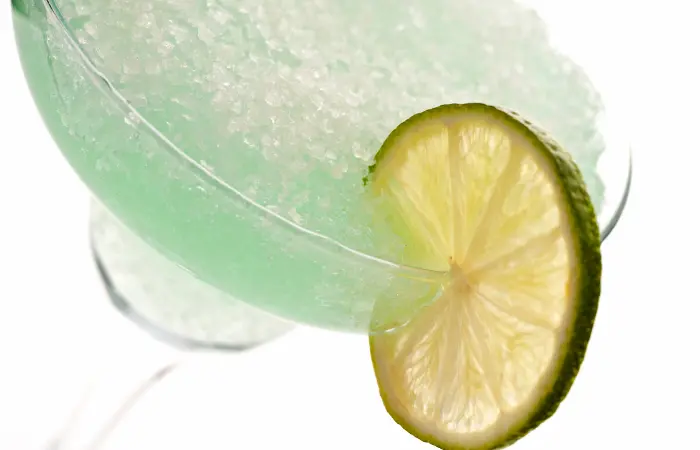
The motor’s heat in the blender will melt some of the ice. That’s why you have to pour it through a strainer to ensure that all that is left is the ice and that your drinks are not thinned out.
In case you don’t have a strainer, you can slowly pour the water out while holding something over the blender’s top to stop the ice. Make sure to use the crushed ice immediately, and if you have leftovers, store them in the freezer.
Recommended Order of Ingredients When Blending Frozen Items With Ice
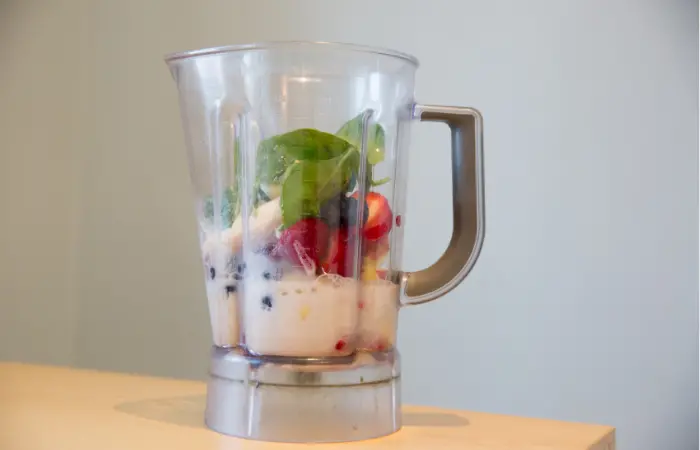
If you wish to mix other ingredients while crushing ice, there is an order of ingredients to put in the blender that you should follow. It’s because the order in which the ingredients are layered in a blender when blending ice or other frozen fruits and items impacts not just the blending process but also the texture and flavor of the final product.
So, here is a recommended order from bottom to top.
- Liquids
- Sugar or other sweeteners, if any
- Leafy greens
- Soft ingredients
- Any vegetable, fruit, seeds, nuts, and grains
- Frozen items and ice cubes.
Specific Advice for Different Blender Brands
For making crushed ice in a blender, my step-by-step guide will work for every blender brand. Still, I want to give specific directions for some of the renowned blender brands. If you are using any of my mentioned brands, then make sure to check that point to learn the tricks.
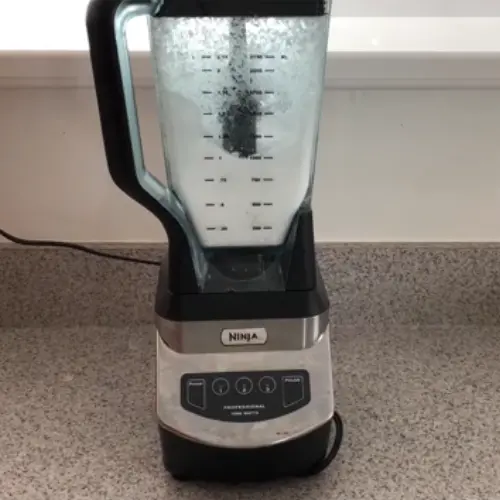
How to Crush Ice in A Ninja Blender?
Follow these steps for crushing ice in your Ninja blender.
Step 1
Fill the blender jar halfway with ice. You can use any ice, from crushed to cubed. And there is no need to use the partially melted ice for the Ninja blender. Also, make sure you only fill halfway so that you can fit other ingredients.
Now, if you will only crush ice, you can add more ice, but don’t overpack the blender jar. Otherwise, the ice cubes won’t have space to move while blending.
Step 2
If you want to add liquids like juice, syrup, etc., add them at this point, followed by other mix-ins such as ice cream, fruits, and so on. Also, if you wish to make a smoothie, add other ingredients like oats or protein powder now.
Step 3
Blend everything at high speed for approximately 1 minute. After that, stop and check if everything is combined thoroughly. If not, blend until you reach the desired texture.
Step 4
Now, pour your crushed ice into a strainer as before, and then use it. And if you have made a drink, then pour in a glass and enjoy.
What About Nutribullet?
First of all, can you blend ice in a Nutribullet blender? Well, depending on your model, yes, you can. But there are a few things you have to follow!
Most importantly, you should never blend dry ice in these blenders. The company has said that Nutribullet blades are not intended for crushing ice. Still, if you want to crush ice, you must add any liquid to it.
So, the general rule is that you can use any frozen items, but to achieve a smooth consistency, you have to add a significant amount of liquid to the container.
To blend ice, simply pour a bit of water along with the ice cubes.
Don’t worry! The added water will not make your ice runny. It will mix with the ice chunks as it blends.
Also, make sure to use small cubes of ice, especially while working with the personal Nutribullet model that has a small jar. If you use large ice cubes, it will most probably be left with some unprocessed ice as they will be stacked above each other. But, when it comes to adding a few ice cubes to smoothies and drinks and then blending, everything will work out.
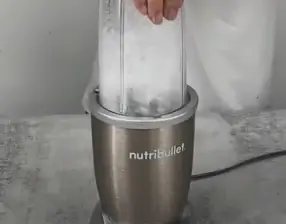
Now, according to your model’s power, it may take a few minutes to crush ice. So, be patient with the process, and keep blending until all the ice is crushed evenly. Of course, if you will use the powerful ones or the countertop models, it will crush the ice sooner.
How to Crush Ice in Vitamix?
Usually, Vitamix blenders’ motor base use between 11 and 12 amps of power, so it is quite powerful to drive a screw through steel. In fact, it will take less time to blend. You can crush ice for your drink faster than most of the other brands’ blenders, as Vitamix’s blade moves so fast!
Alright, let’s learn the method for using Vitamix now.
- Drop ice cubes into your Vitamix, leaving a bit of space above. Close the lid, and then press the pulse button for around 4 to 5 seconds, and let go.
- Open the lid and stir the ice with a silicone spatula. Try to pull over the crushed portion from the bottom toward the top.
- Repeat the pulsing and then stirring process until desired consistency.
Alternative to pulsing, you can press the lowest speed setting and let it blend. As I said, Vitamix is powerful; hence it won’t take much time, and your job will be done quicker. So, don’t blend for a long time, and keep checking by opening the lid after every few seconds.
Okay, as I said earlier, if your blender isn’t capable of crushing ice, don’t take any risks. Instead, use the methods that I am going to share in my next segment.
How to Crush Ice at Home Without A Blender? 5 Alternatives!
Here are five alternative ways for crushing ice instead of using a blender. Go through each one and find the most suitable tools for you.
1. Using A Food Processor
First thing, can you crush ice in a food processor? The answer is yes, you can. A food processor can easily crush ice, but you have to be careful with the process.
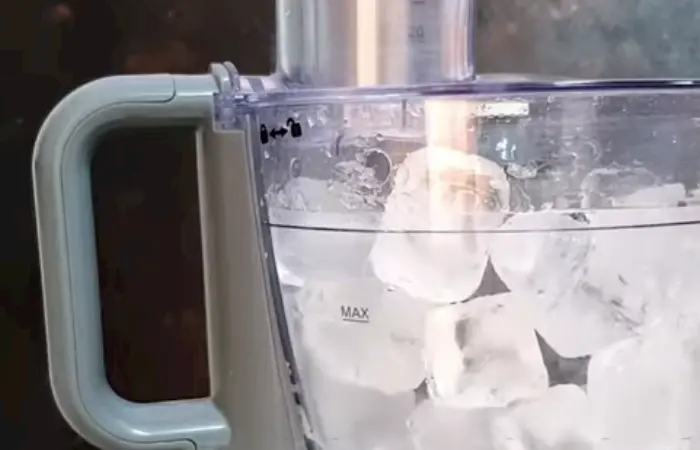
The best technique to crush ice in a food processor is to pulse it until the proper consistency is achieved. This method is quicker than all the other alternative ways I will discuss.
By the way, if your food processor doesn’t have a pulse button, turn the device on and off quickly several times until desired texture is achieved. But remember that pulse crushing is the best when you want to crush the ice into small pieces. You can add water or other liquid ingredients to the mixture using this process without entirely grinding them.
And if you want bigger pieces of crushed ice for making ice cream or sorbet, use long pulses instead of short ones so that there is enough time for friction to occur between the blade and the food inside the container.
Anyway, if you are looking for the answer to the question of how to crush ice by hand, my next 4 methods are for you.
2. Mallet & Lewis Bag
For smashing ice in a lewis bag, follow the below instructions.
Step 1
Take out the ice from the freezer just before crushing them. The ice has to be as cold and dry as possible in order to make excellent crushed ice. Moreover, ice can be of any size or shape.
Step 2
As soon as you take out the ice cubes, place them inside the lewis bag and roll up the end.
In case you don’t have a lewis bag, you may substitute it with a clean, lint-free towel or a piece of canvas cloth. Wrap the ice tightly in the towel or cloth so that nothing flies out when you crush the ice.
Step 3
Put the Lewis bag on a solid surface and hold the end shut. Make sure to choose a surface that won’t be damaged while hammering the bag.
Now start smashing the bag with a wooden mallet while still holding the end shut. Otherwise, the ice will smatter around. You have to smash it as quickly as possible since the ice will start melting after removing it from the freezer.
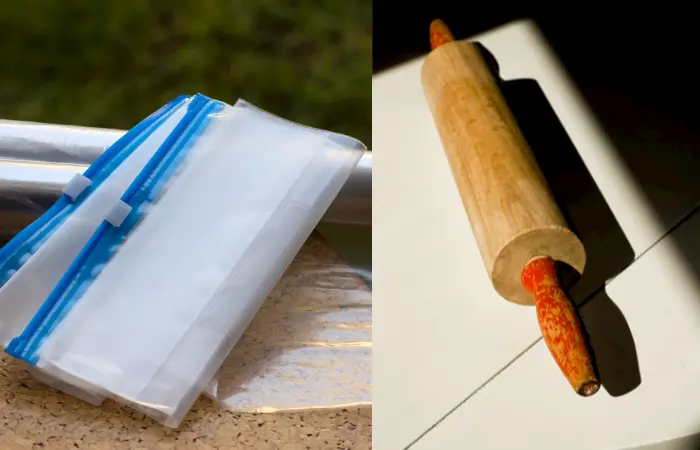
In case you don’t have a wooden mallet, use another hefty kitchen utensil, such as a meat tenderizer or rolling pin. Even a regular hammer or rubber mallet will work too.
Step 4
Stop smashing when there are no big pieces left. Open the bag and check if all the ice is smashed perfectly. If not, roll the bag up and then keep hammering until there are no big chunks left.
3. Using A Cocktail Shaker And Muddler
This method is great if you want to make a single drink.
So, what you have to do is fill half of the cocktail shaker with ice cubes first. Then, hold the shaker upright on a hard surface like a sturdy table or countertop. Hold the cocktail shaker with your non-dominant hand and ensure it is at a suitable working height for you to smash.
Now, hold the muddler with the fist of your dominant hand and smash the ice until it reaches the desired size and texture for your drink.
You could also do this in a really solid pint glass if you don’t have a cocktail shaker. Just make sure the glass is sturdy enough so that it can withstand the beating from the muddler.
4. Crushing in A Tea Towel
Lay a clean towel on a sturdy surface. Place a few ice cubes in the middle of the towel and fold the 4 corners of the towel inward. Then, tie them together using a rubber band, so the ice stays in place. Take a large rolling pin or any other strong kitchen tools and carefully whack the ice for about five minutes or until properly crushed.
5. Using A Plastic Sealable Bag And Rolling Pin
Fill a plastic zip-loc bag or freezer-safe silicone bag with water about halfway. Then, seal it and place it in the freezer until the water turns to ice. After that, take it out and put the bag on the kitchen counter. Now, break the ice up with a rolling pin by rolling back and forth until you achieve the appropriate consistency.
How to Store Crushed Ice?
In case you made a large batch of crushed ice, and there are leftovers, don’t throw them away.
You can store them in the freezer till you need them again. Just put the crushed ice in a sealable container or bag, and when you are ready to use, break up any frozen chunks. After that, you can mix it in drinks or use it in cocktails.
Conclusion
Now that you know how to crush ice in a blender as well as with other tools, it’s finally time for you to do it yourself. Although it’s an easy task, a simple mistake can also damage your device.
As long as you follow every piece of my advice, it won’t take you more than one or two attempts to perfect the art of crushing ice in a blender.
Frequently Asked Questions
Why can’t I crush ice with my Ninja Professional blender?
For crushing ice with Ninja Professional, you have to use the 6 blades attachment. Also, don’t use partially melted ice. Another reason could be you might have overfilled your blender. So, remove some items and give it another try.
It is also possible that temperature protection has been enabled. In such a case, unplug your device, wait 15 minutes, plug it in again, and then try.
Can you crush the ice with an immersion blender?
If you are trying to crush whole ice cubes, an immersion blender isn’t the right tool. The immersion blender’s design is simply not suitable for this job, and its blades aren’t big or robust enough either. It will overwork the motor, dull the blades, and can never achieve the proper crushed ice consistency.

